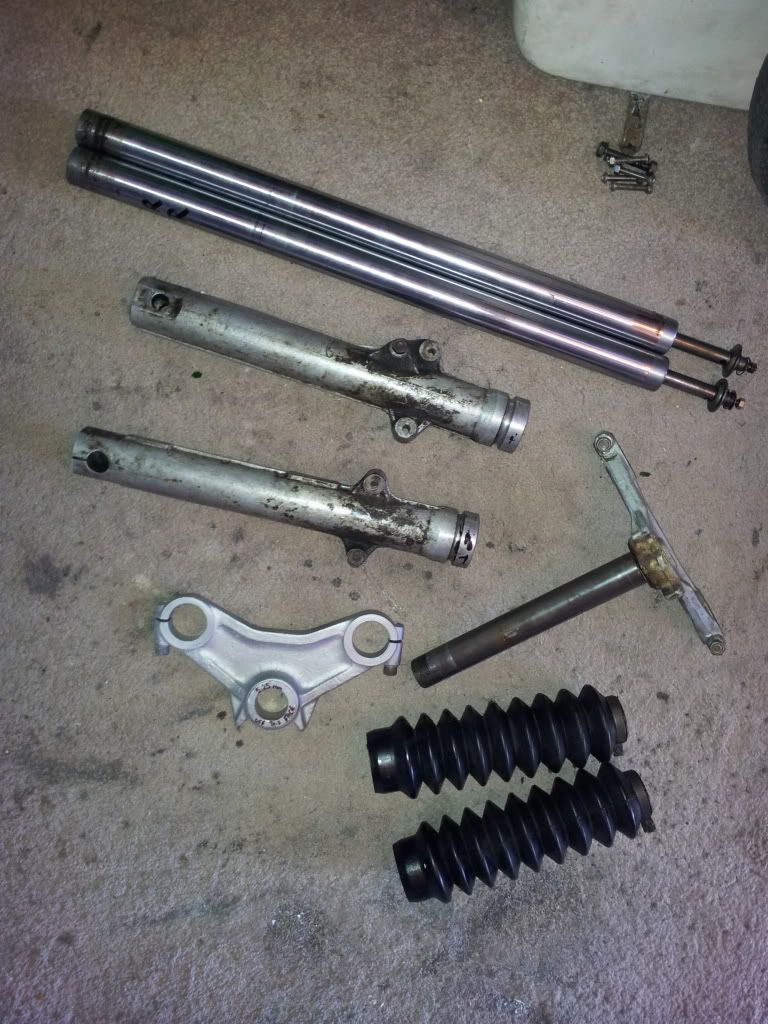
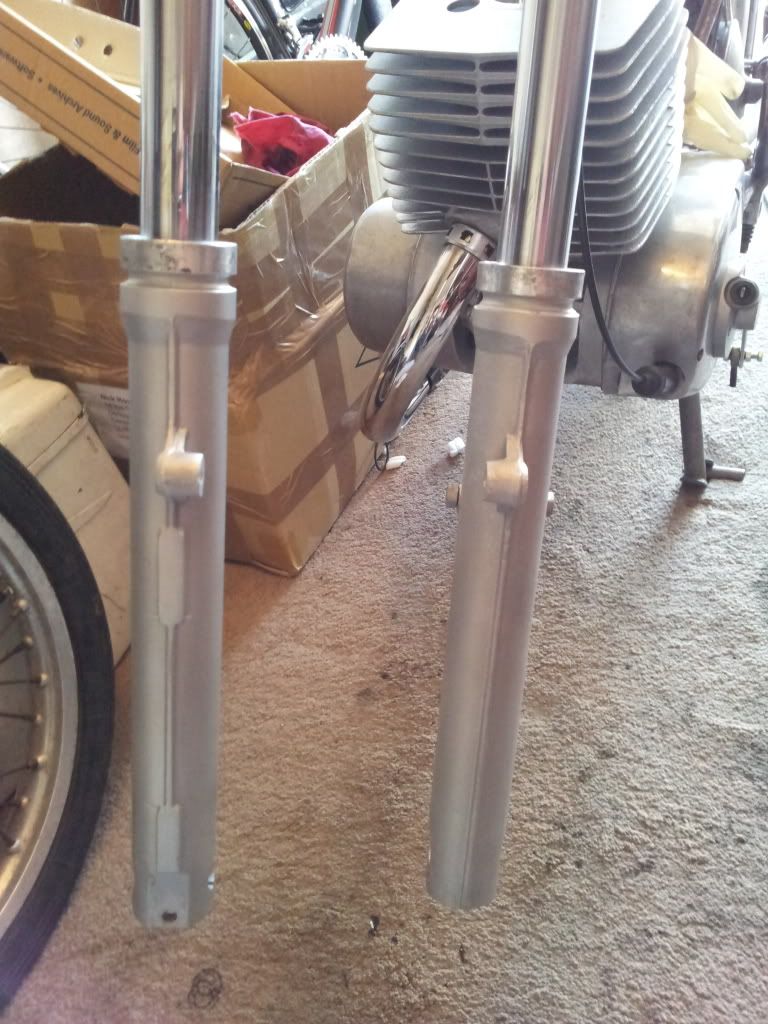
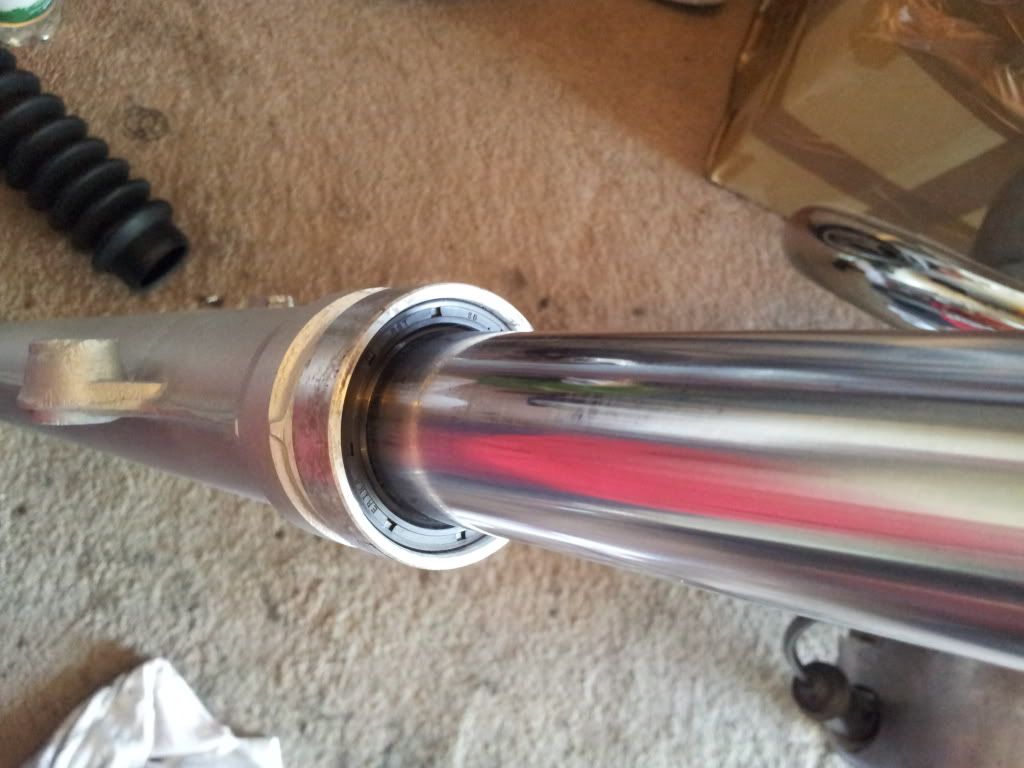
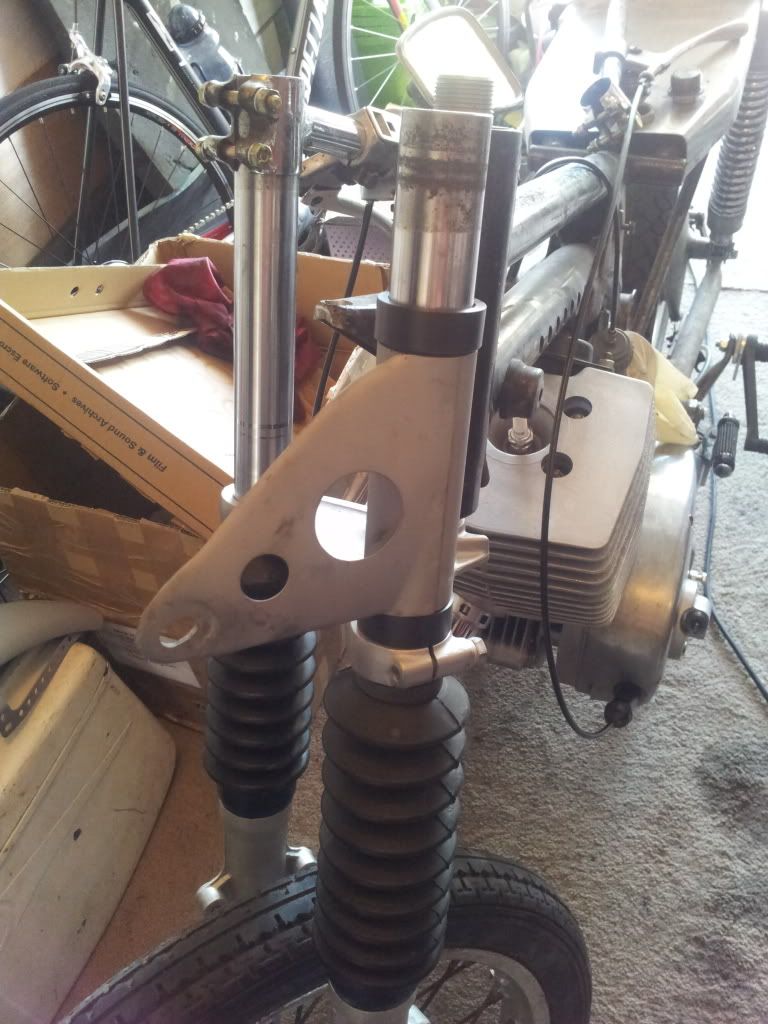
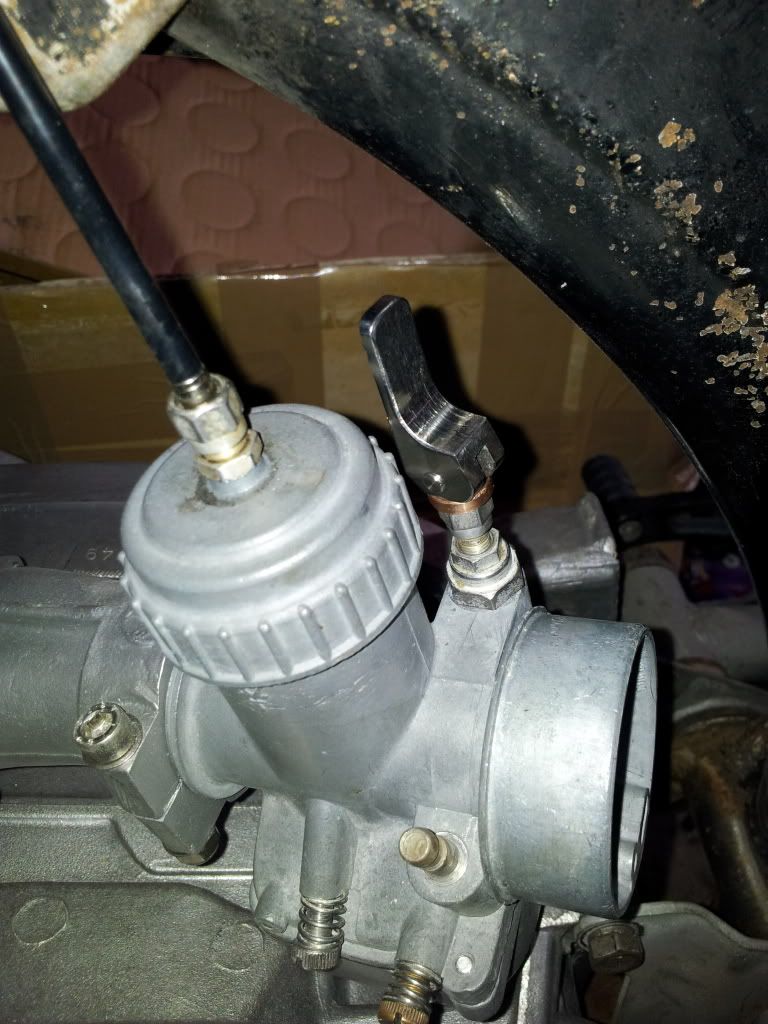
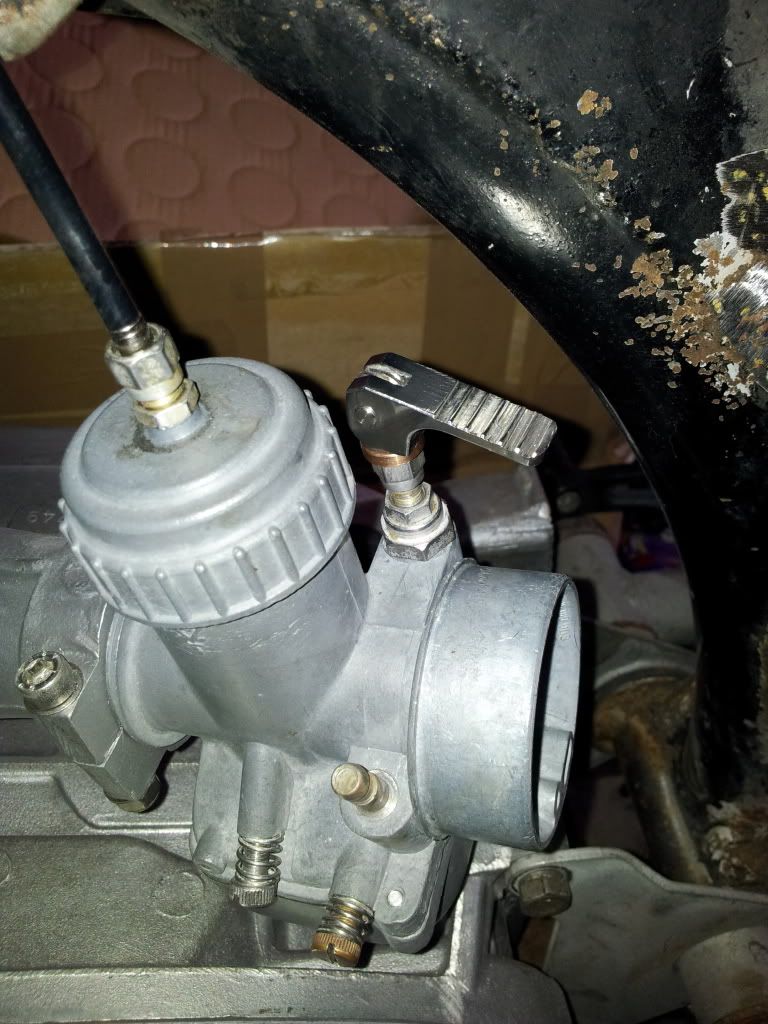
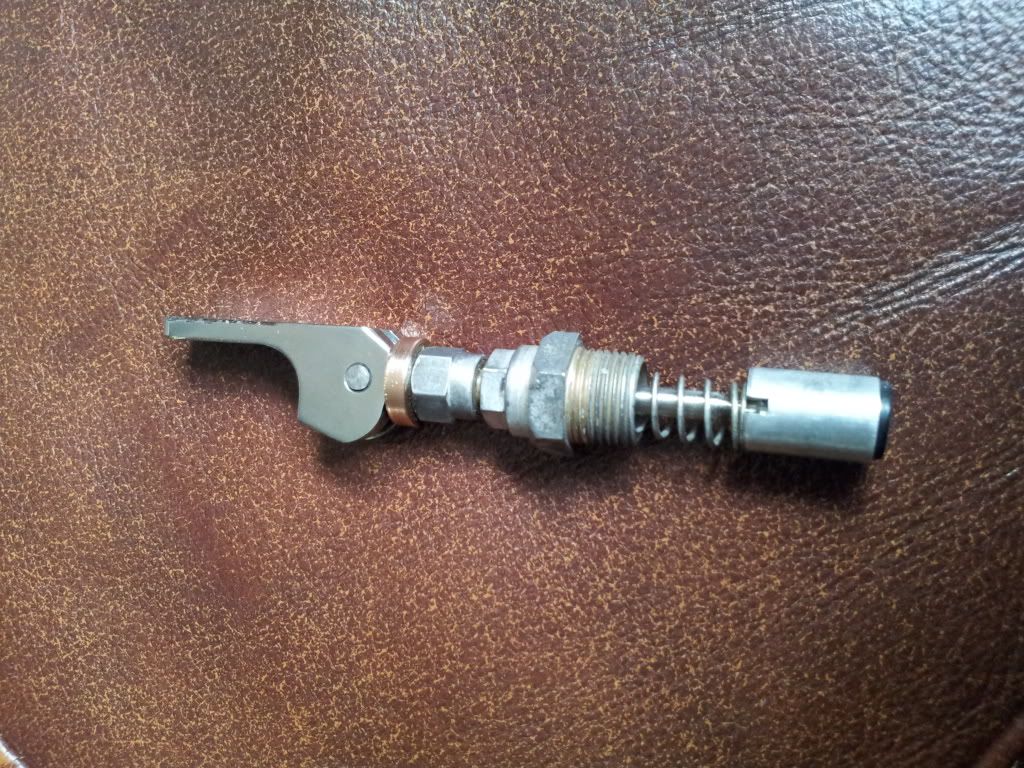
Rebuilt the forks with new seals and oil, beadblasted the fork bottoms and they have come up a treat. Med has also made us some nylon bushes to mount the headlamp brackets on the fork legs, the rubbers were cutting up from the clipons and the bottom ally bushes tightening onto them and pushing them back inside the brackets, so the nylon bushes have done away with them completely and now is a lot better mounting than before and itsnt such a pain to take off the brakets when needed, it took me over half an hour to get the rubber ones to seat properly, also he made a nylon bush for the end of the twist throttle as the standard MZ has a bar end that pushes inside the throttle as well, so now have a proper working throttle, just need to make a spacer for the other side and some bar ends and thats the handlebars finished, also need to mill 5.25mm off the top of the top yolk, paint the yolks, and fit the new grip rubbers and that will be the forks, yolks and handlebars done. Next modify the drum brake to fit an external arm pull to give better braking than standard and fabricate a brake cooling duct, make a torque arm then beadblast the front wheel, paint the spokes and fit the new bearings and thats the whole front end done
Made a big to-do list up so I can start crossing things off and feel like Im getting somewhere
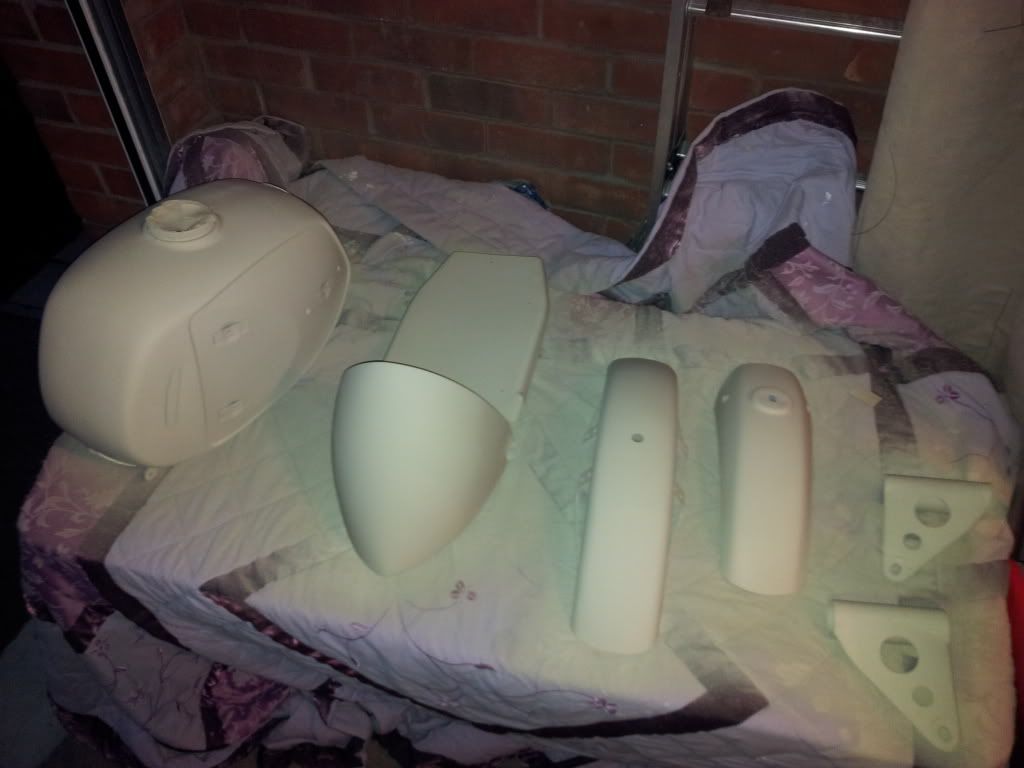
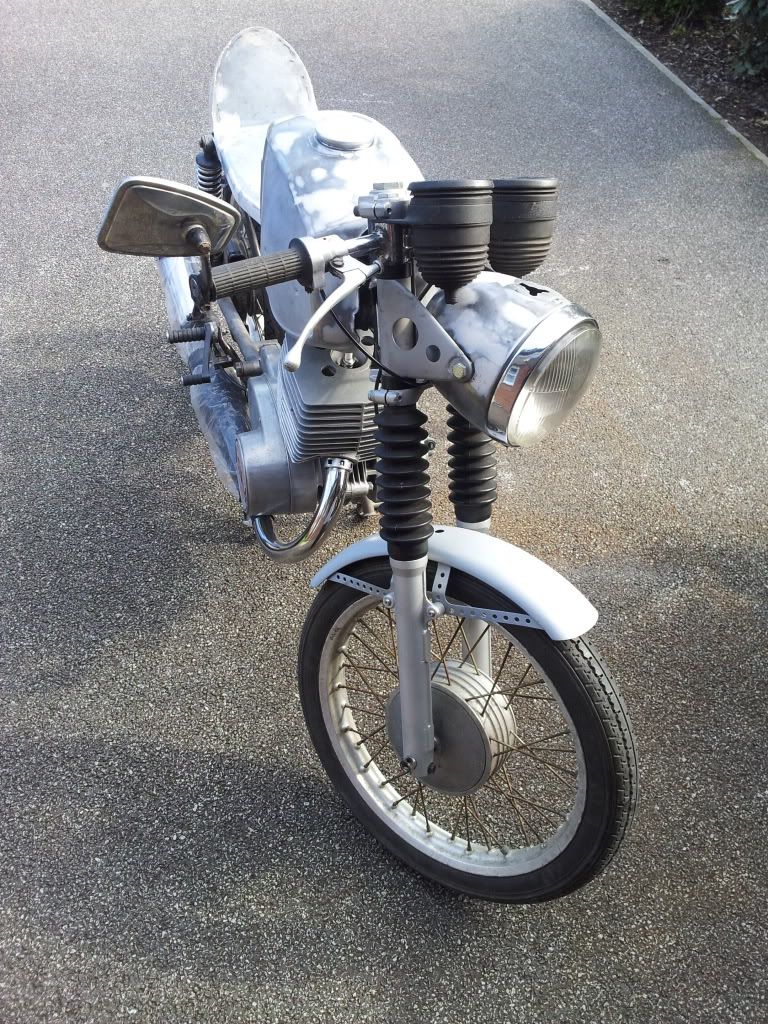
Before:-
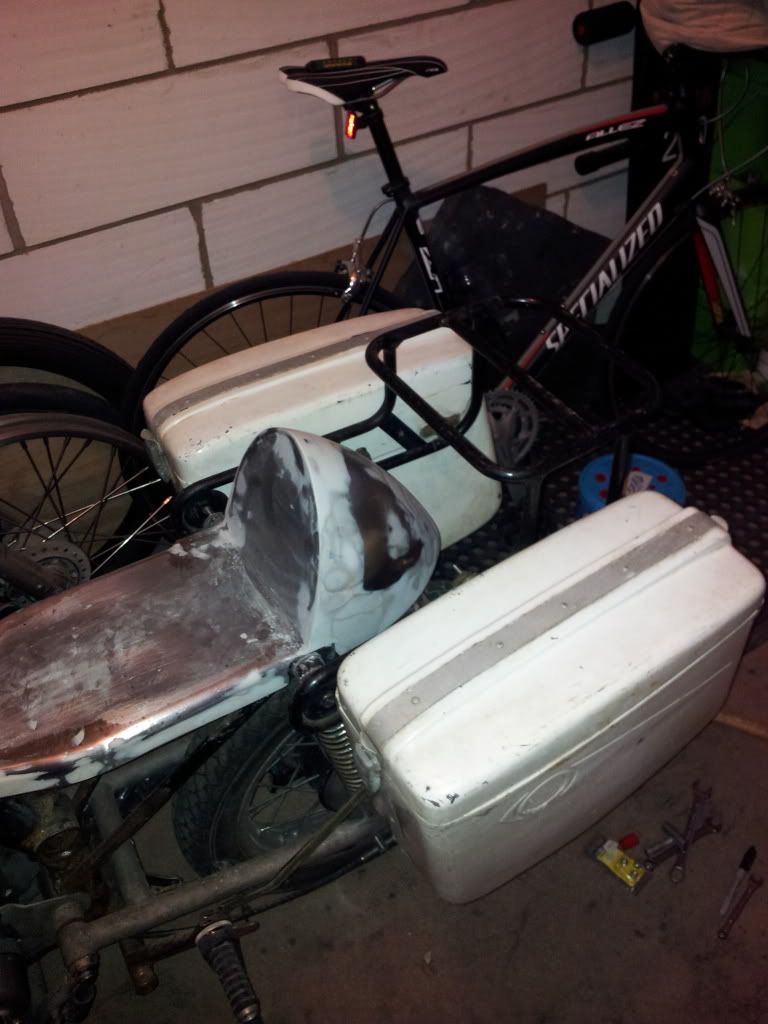
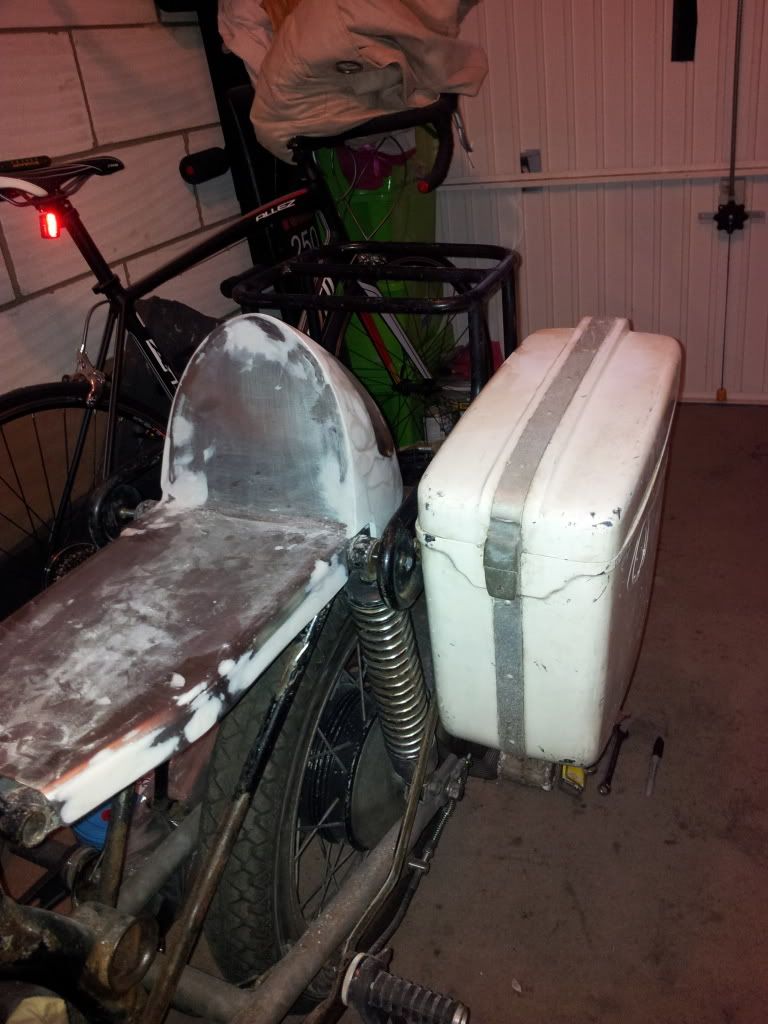
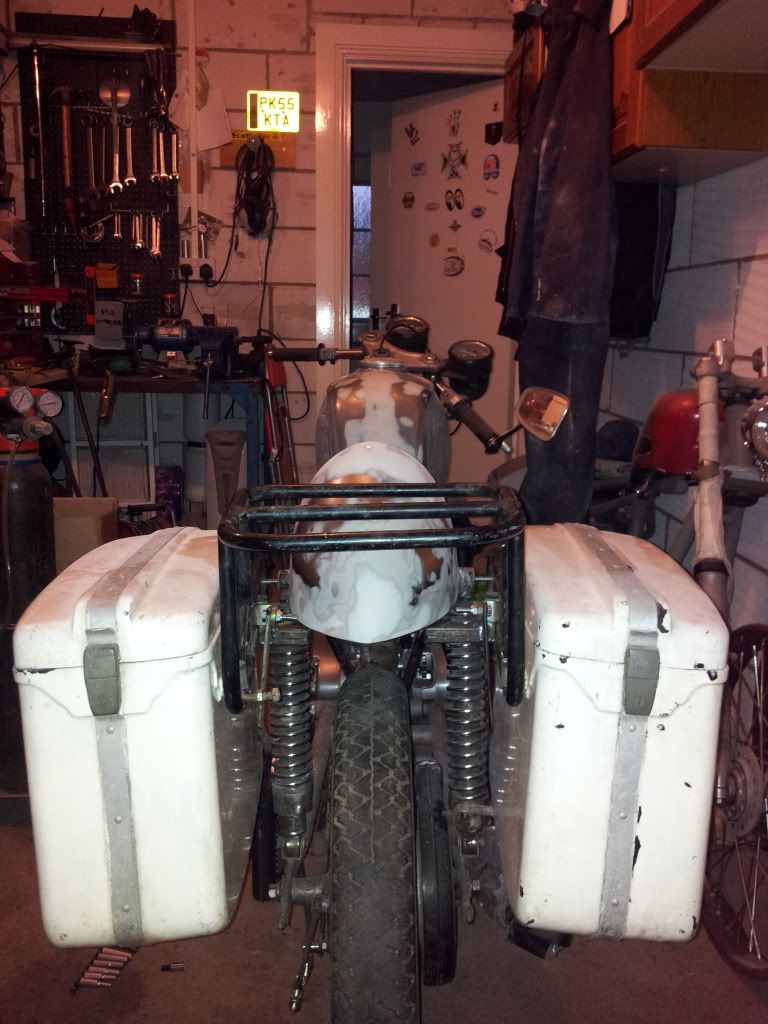
After:-