Sunday, 10 March 2013

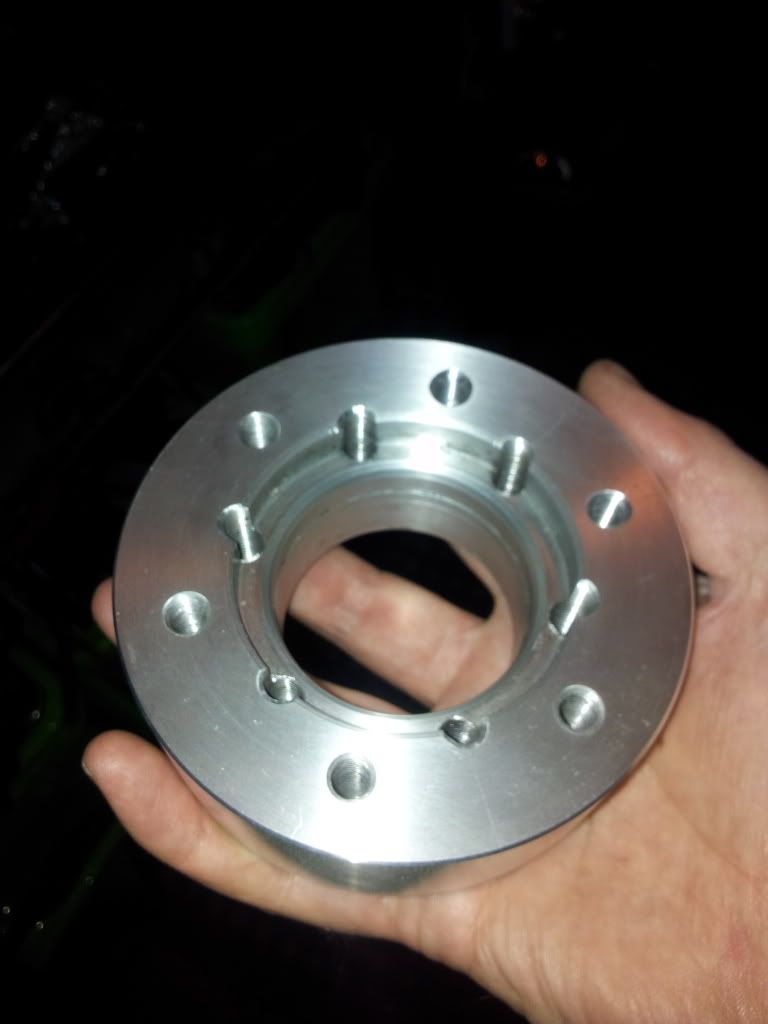
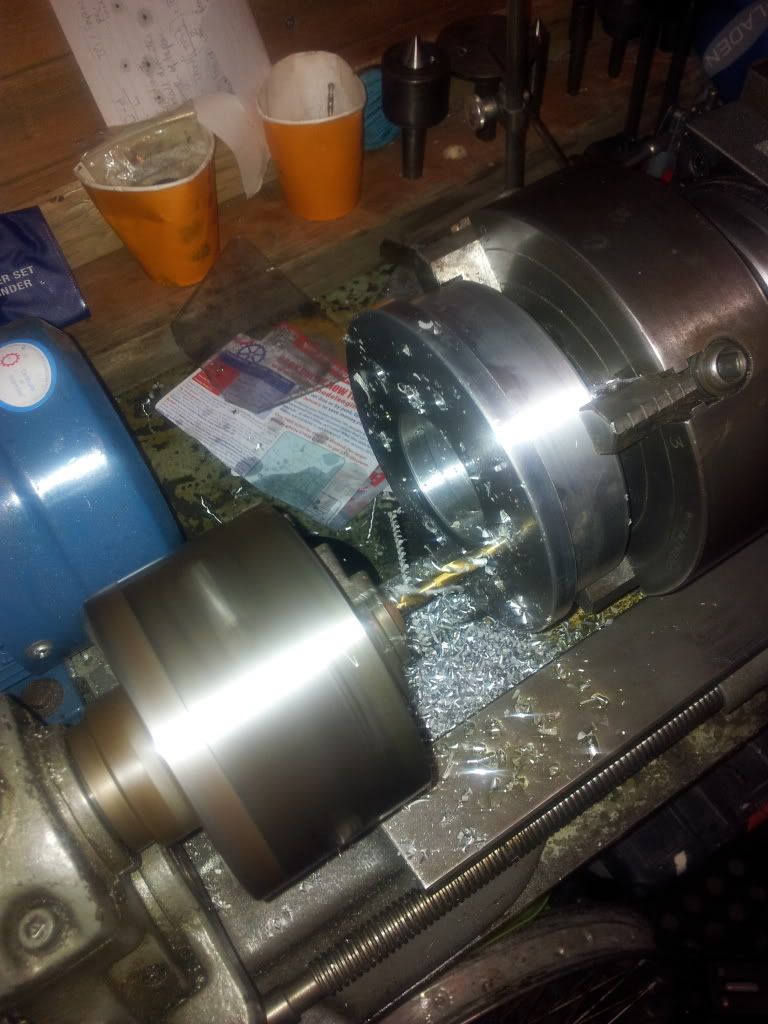
Adaptor made

Need to spend more time in the garage and stop studying quadratic equations for my engineering degree!
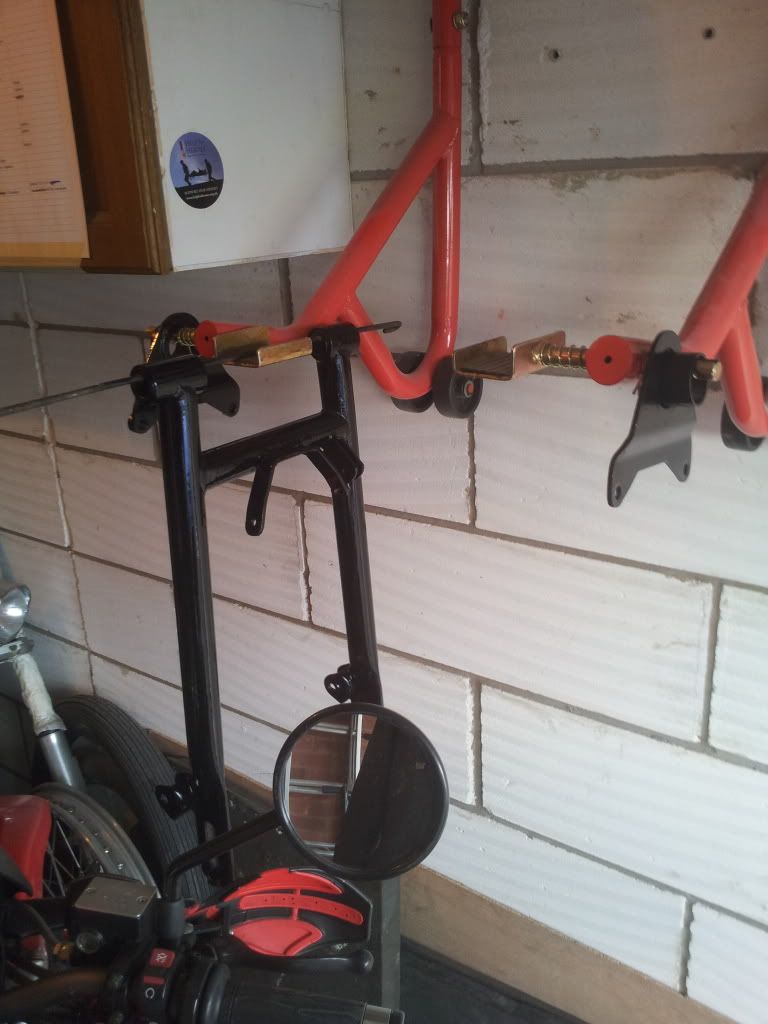
Spacer/adaptor done need to do caliper bracket then juice it all up then its done ready for summer maybe!


Monday, 31 December 2012

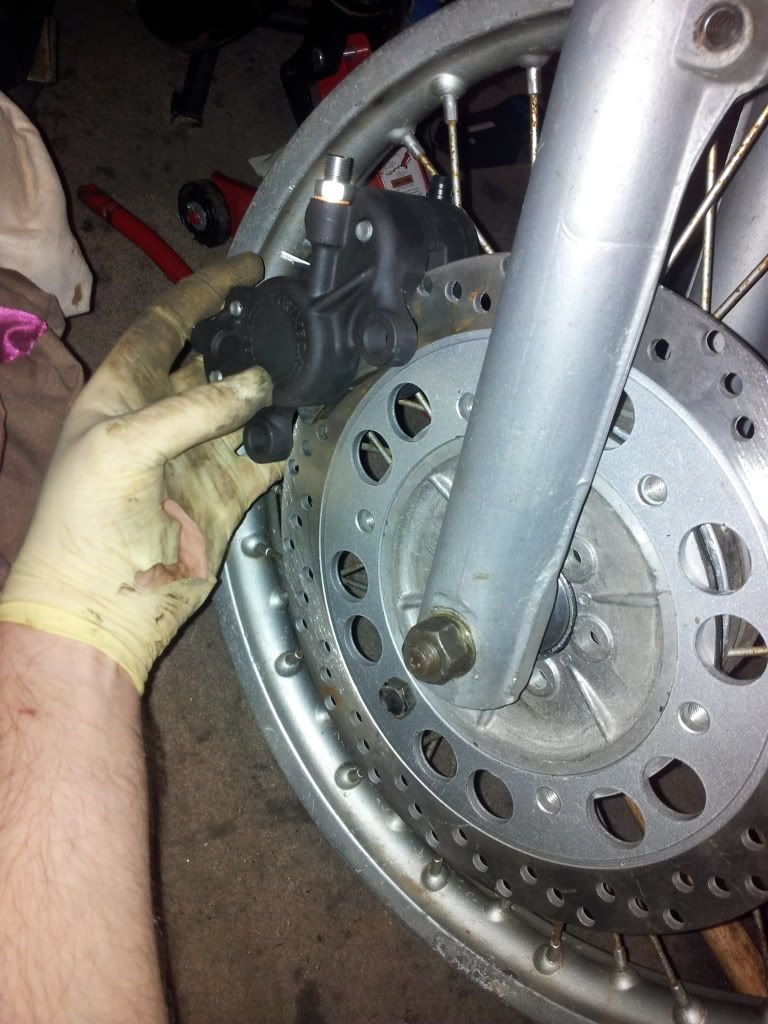
Started on the disc conversion, parts Im using are as follows

Royal Enfield bullet disc, with carrier (may be making another carrier yet as it needs a spacer making so Ill make a one piece one)

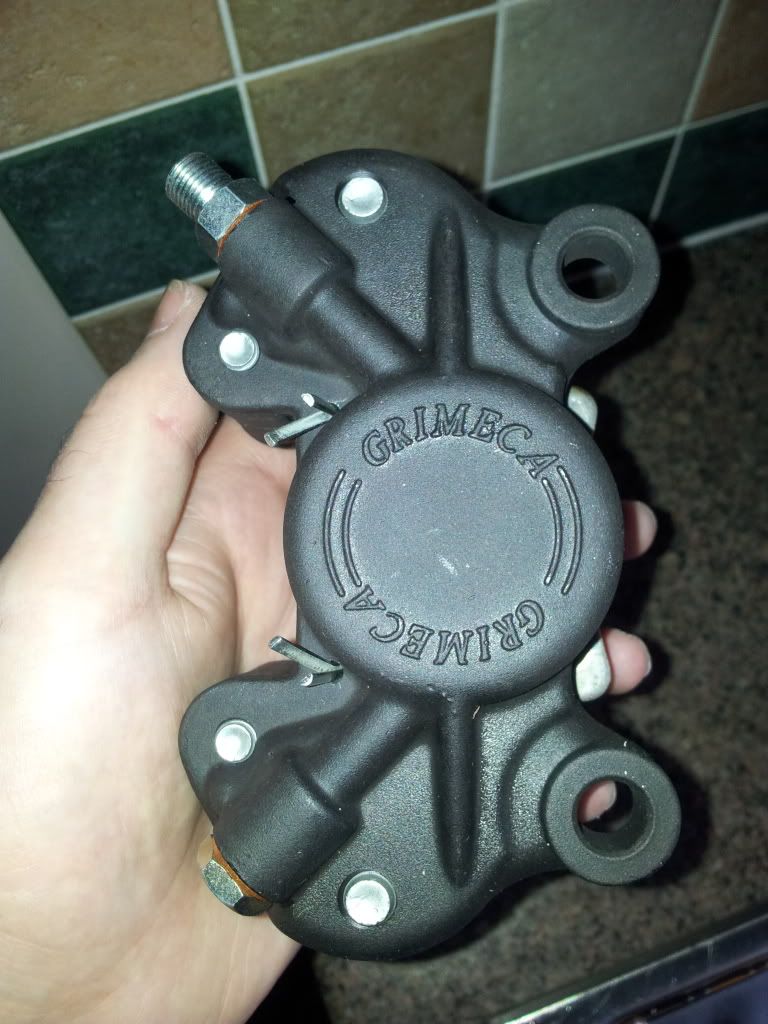
Grimeca calliper and master cylinder (AP racing copy)

ETZ 250 disc front wheel

ETZ 250 right hand fork let with calliper mounting

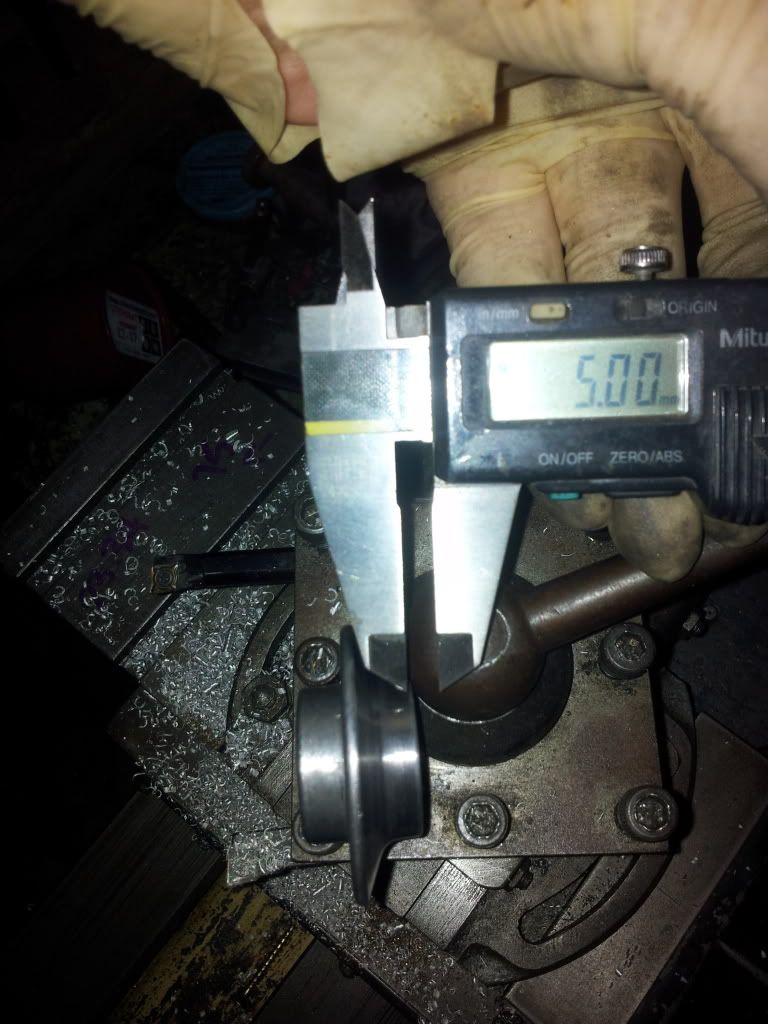
ETZ 250 spindle and spacers, right had spacer ive machined 5mm off to centre the wheel in the forks)


Sunday, 7 October 2012

Classic Bike mention

I got a full page in September 2012 classic bike magazine page 28! Cant believe it very chuffed thanks CC

Working on a disc conversion at the moment, more details to follow, progress is slow as Im moving house

If anyone wants to buy my twin leading shoe conversion complete give me a mail

Monday, 2 July 2012

Award winner

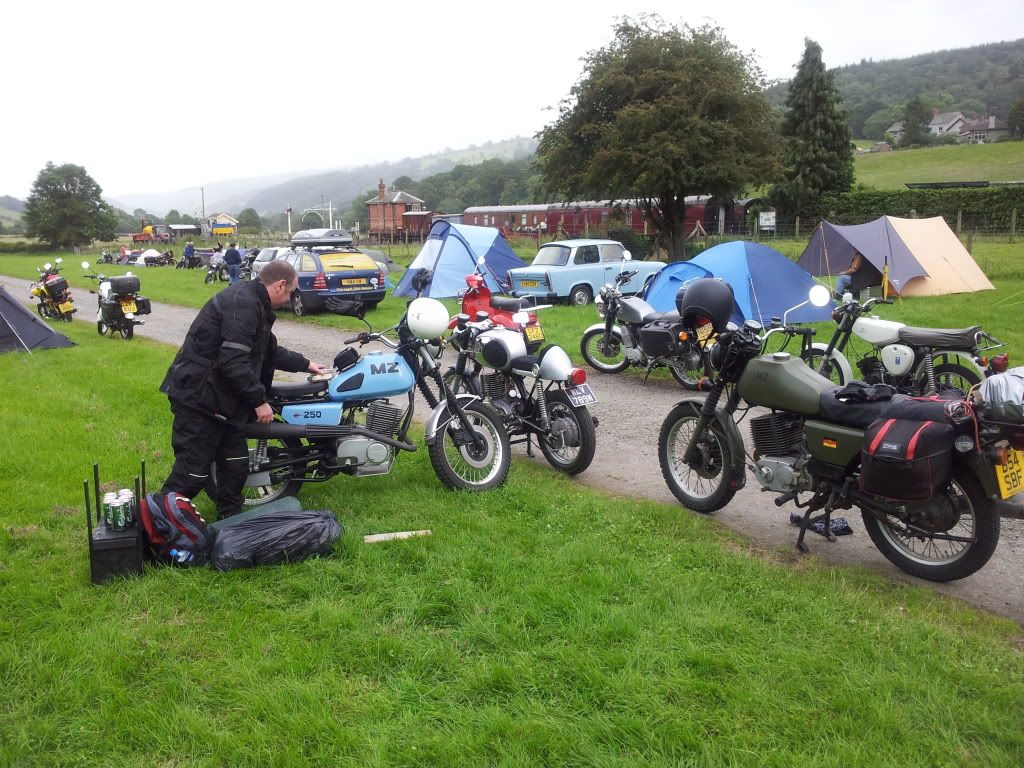
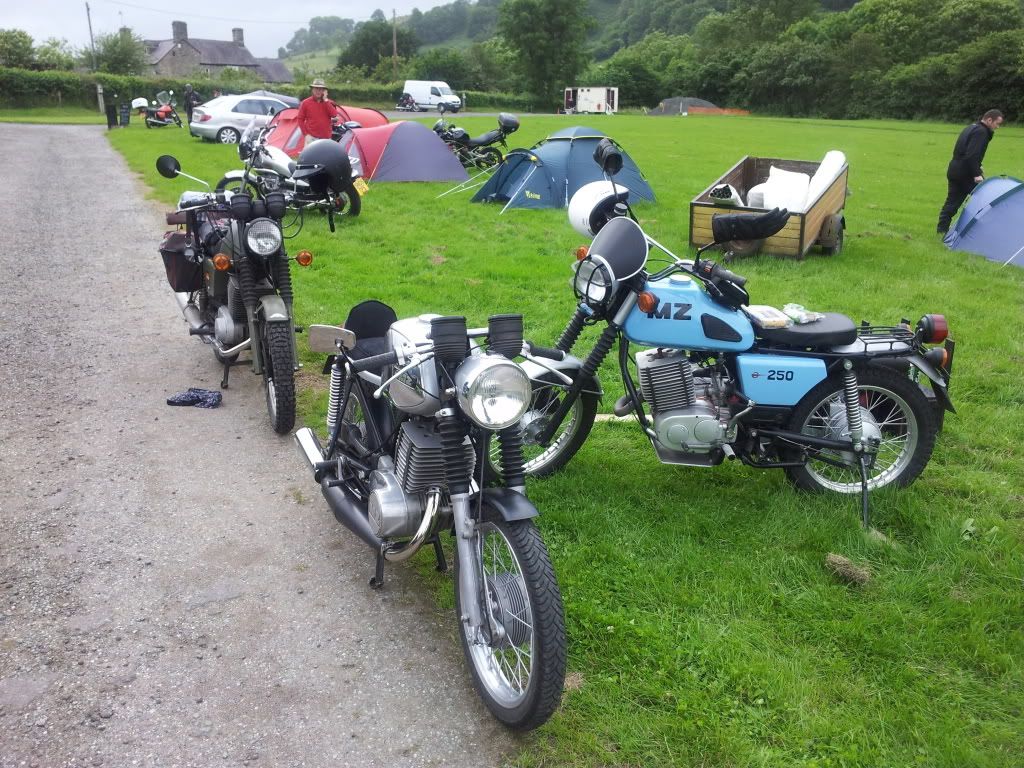
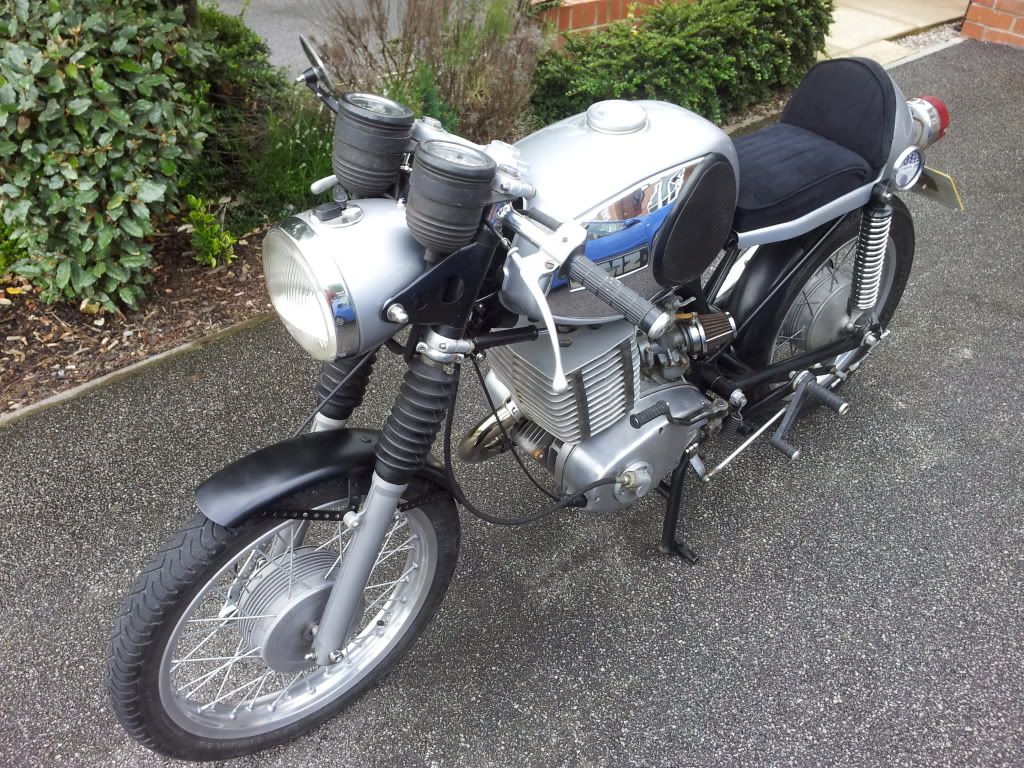
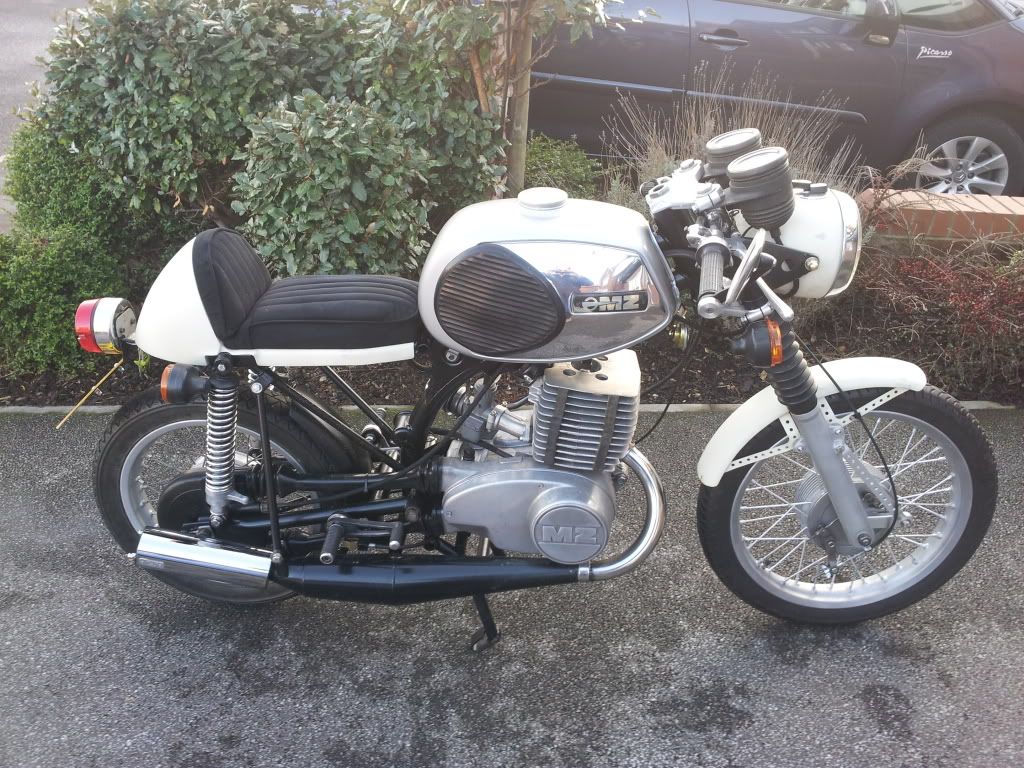
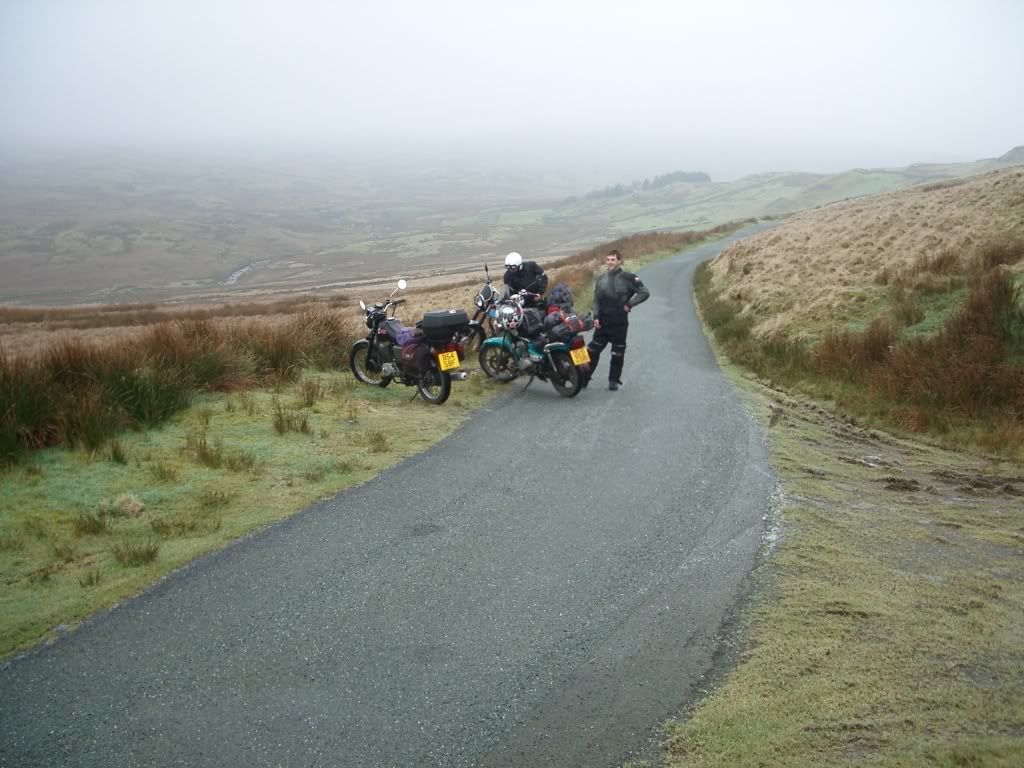
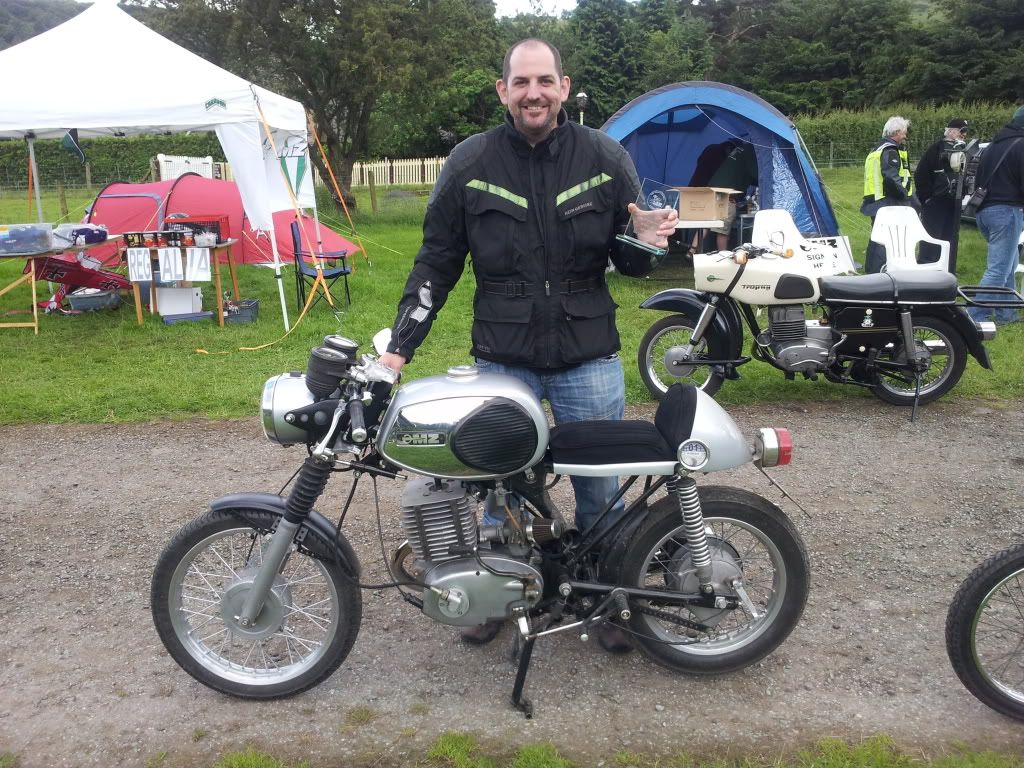
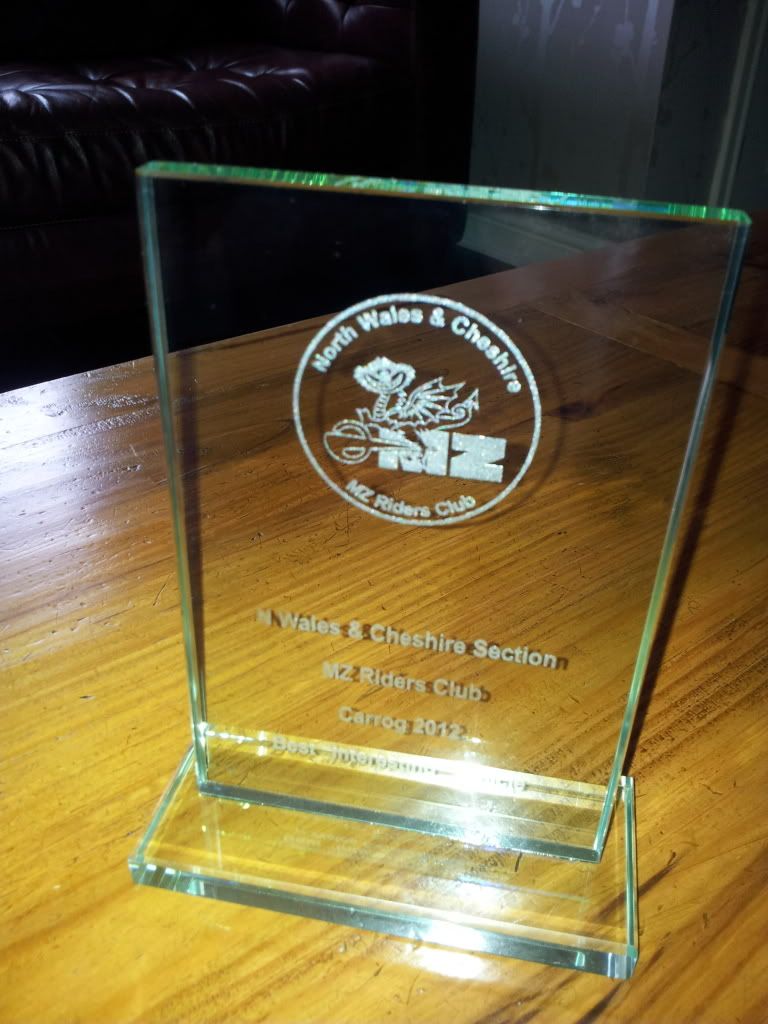
Just got back from the yearly MZ Carrog rally with a trophy for Best "Interesting" vehicle, to say I was stunned was an understatement, I thought id get grief from all the enthusiasts but couldn't get over the amount of interest it got. I was especially happy with the way people pointed out every little detail change, that meant more than the award but the trophy was the icing on the cake. My mate Willis got the award for Best 2 stroke which is the blue ISDT copy in the below pic, another garagehead fully own built


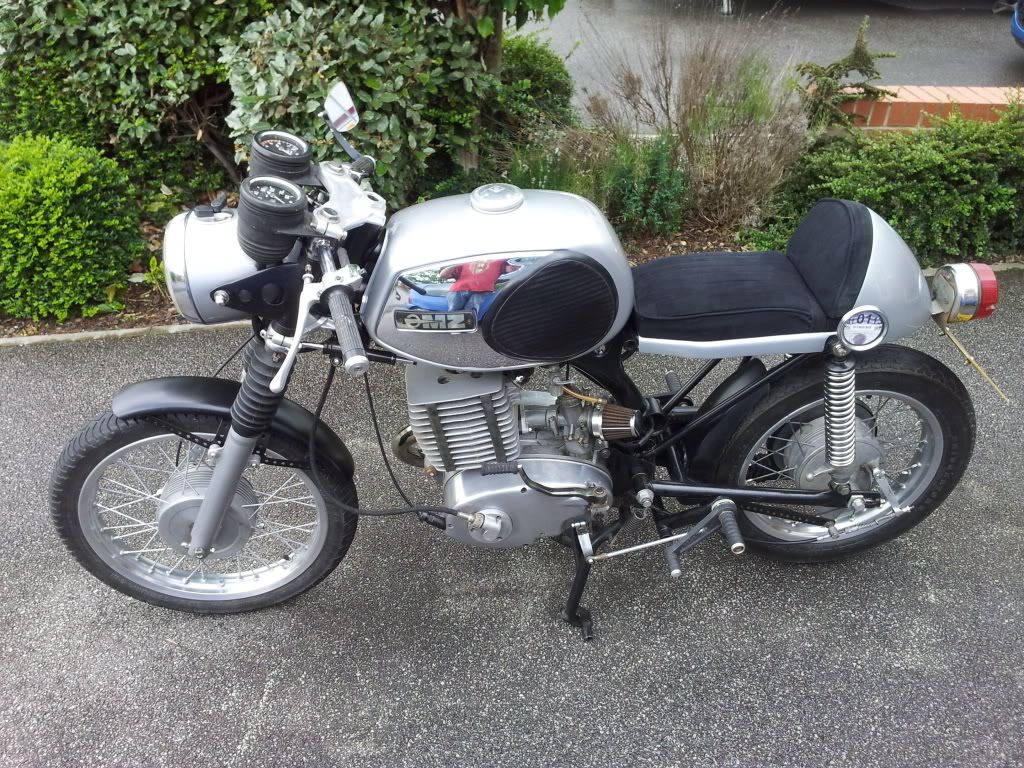
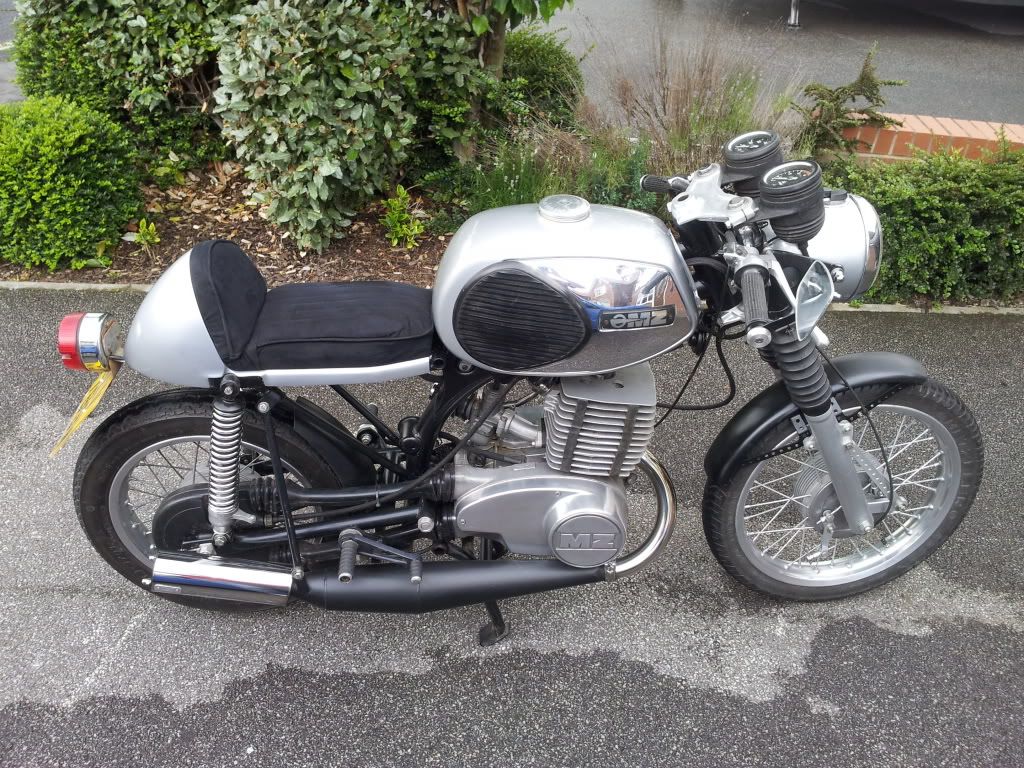
Finished at last!

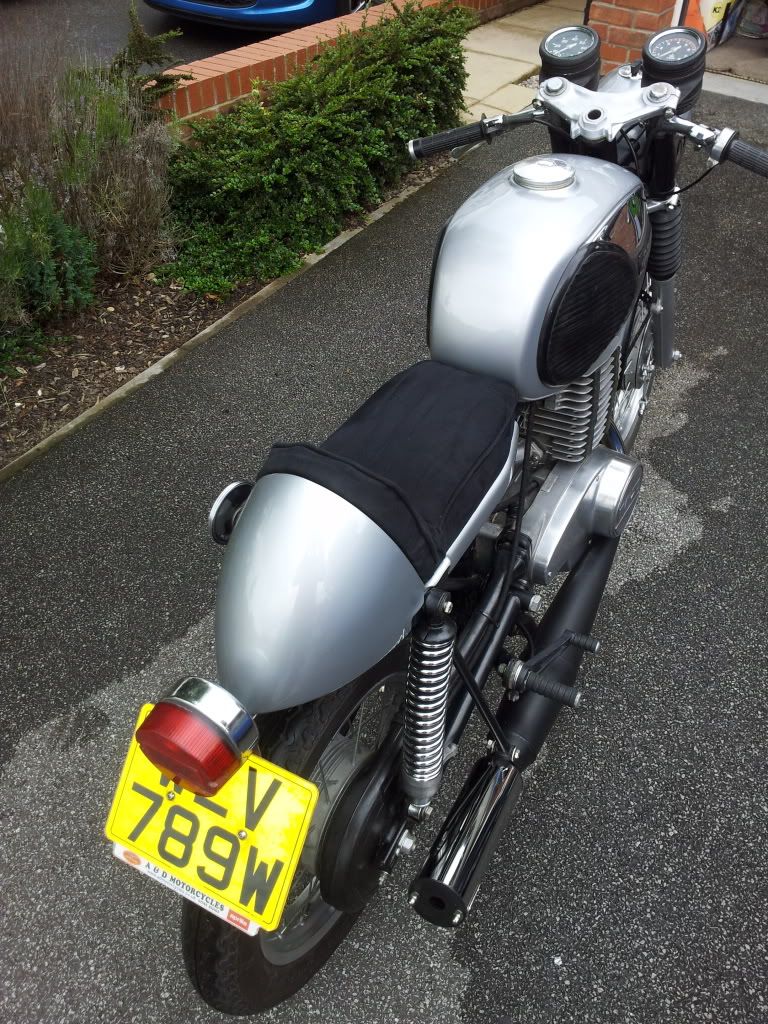
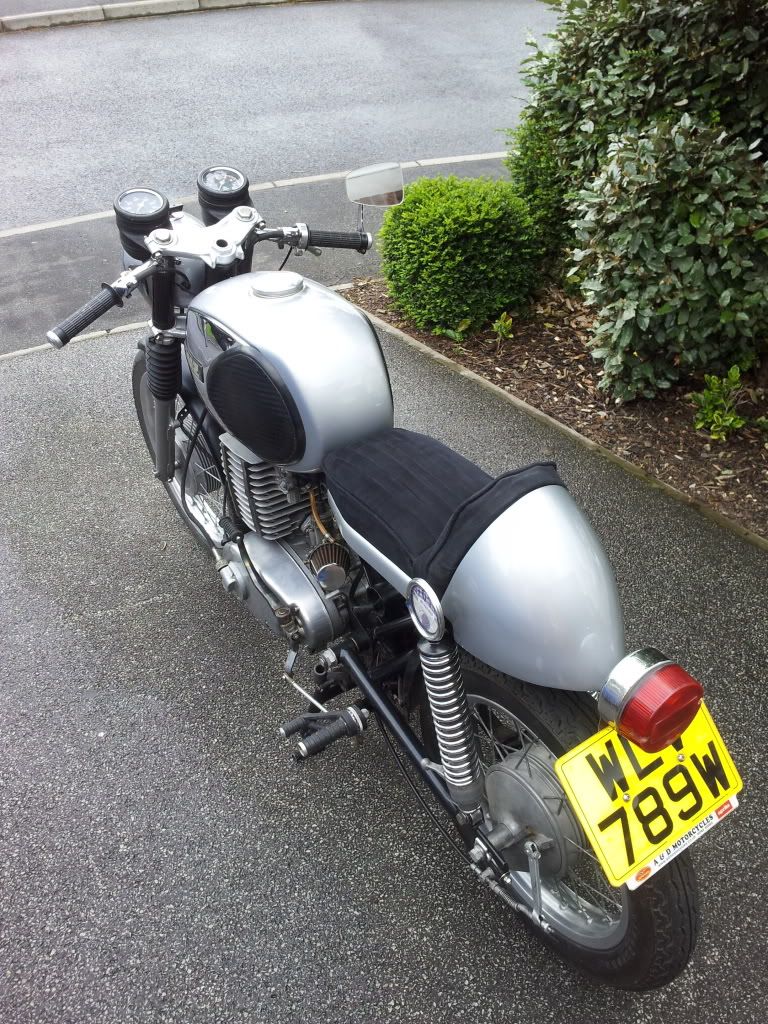
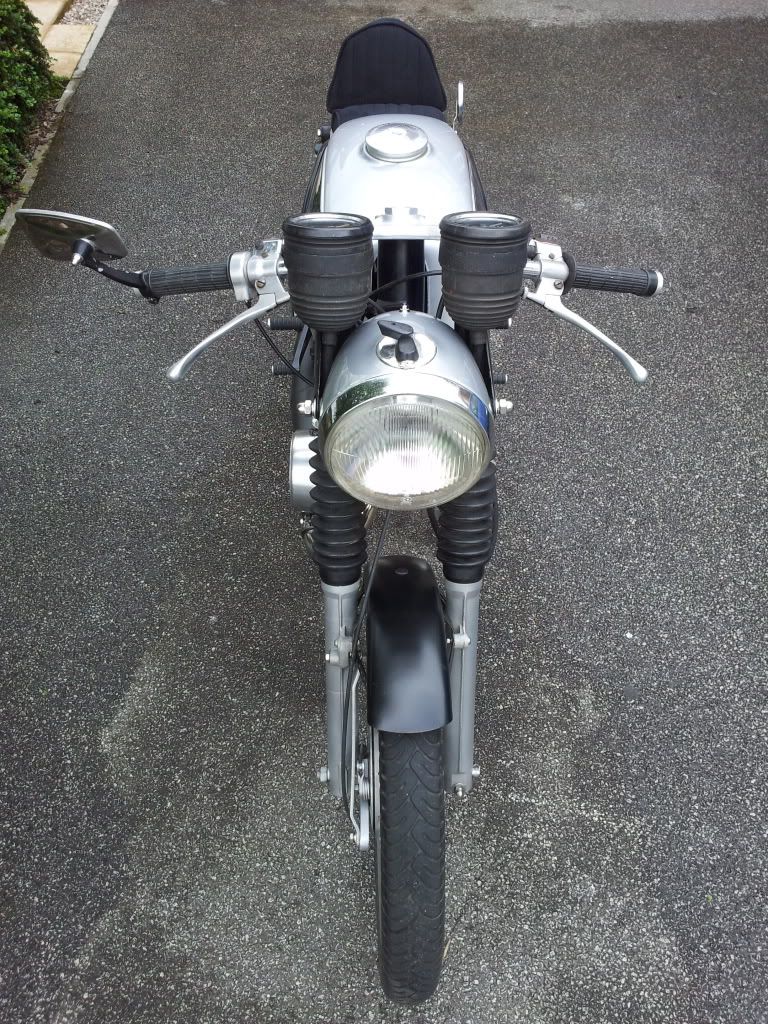
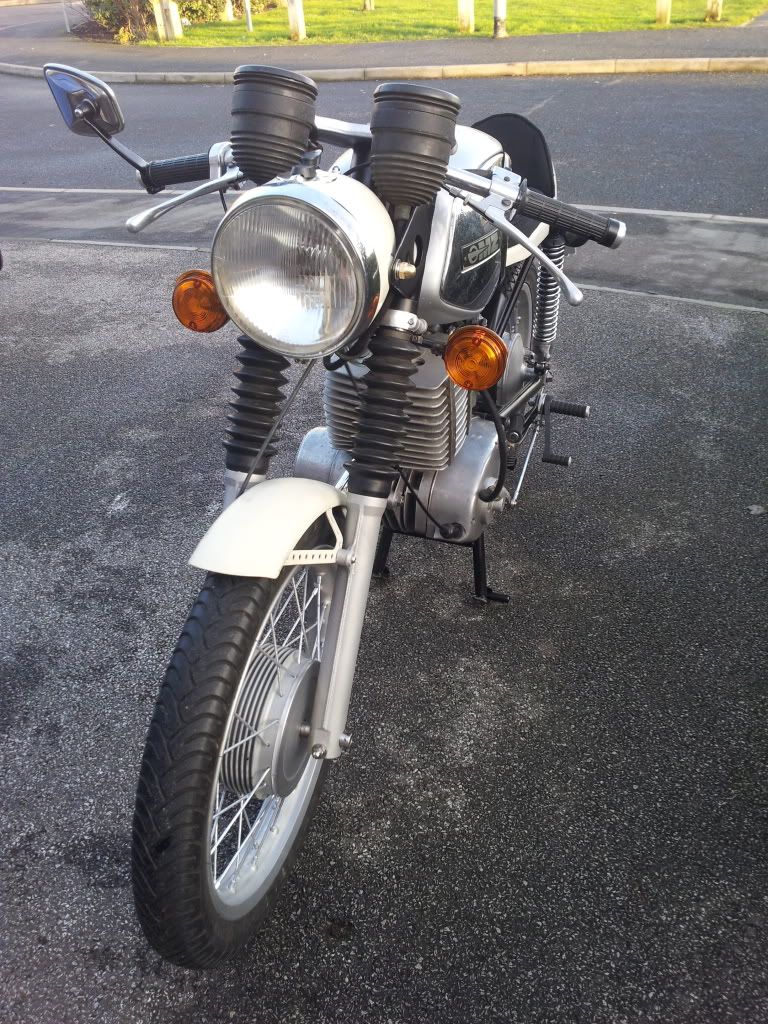
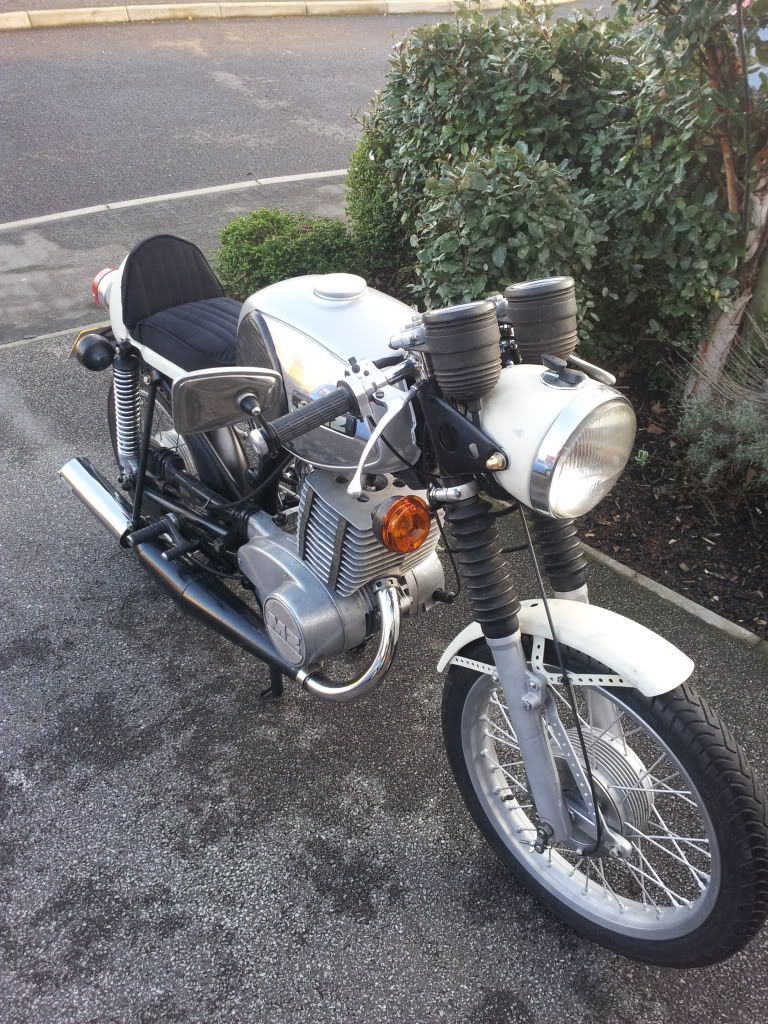
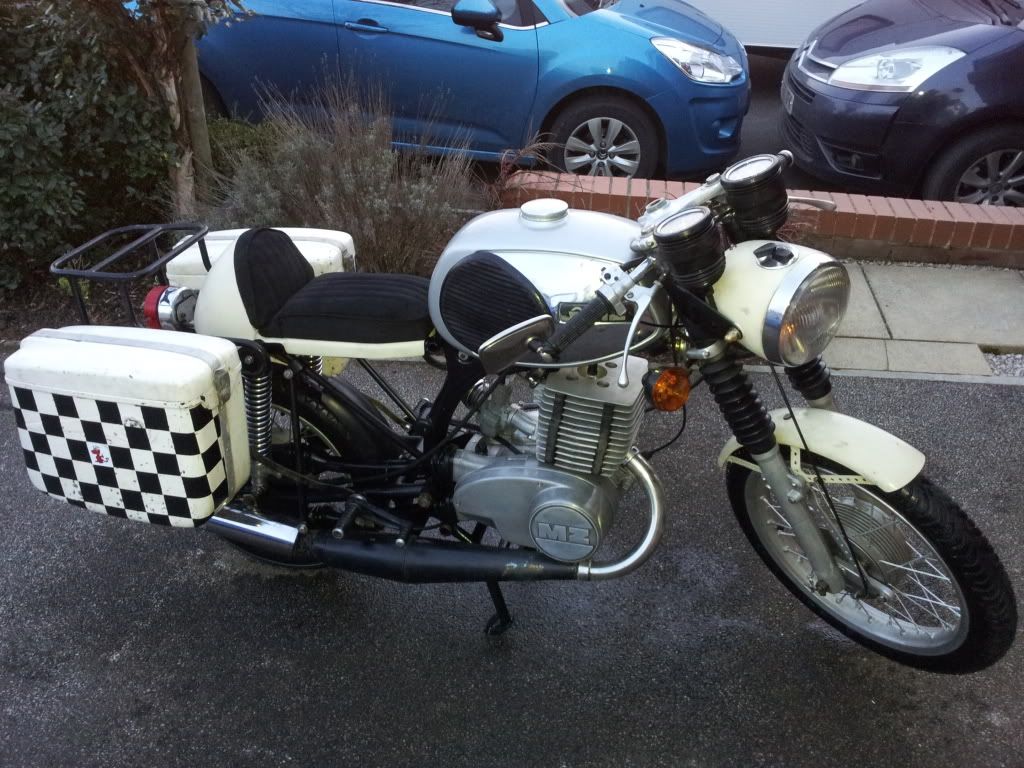
Finally finished the main build, ive still got some tweaks to do but on the whole its done, im really pleased that I didnt stray from the original idea, just improved on the ones I already had. Just changed the hideous yellow number plate for black and silver one, so we'll see how long it takes to get pulled haha


Sunday, 13 May 2012

Seat finally painted

Been waiting for good weather to paint the seat since february and finally got it yesterday, came out good


Wednesday, 2 May 2012

On the road!

Long overdue update, MOT'd and on the road for Dragon rally, just stripped it down for full paint now thats out of the way, more pics and previous build pics to follow


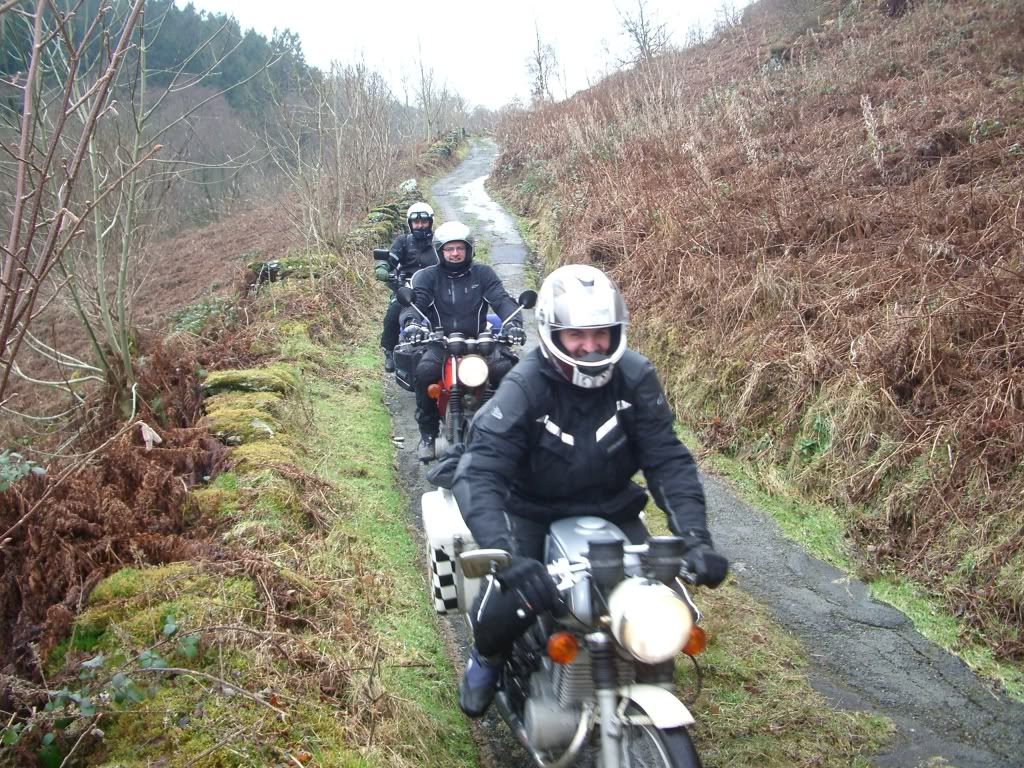
And finally dragon rally mode and the shortcut we took to get there, its only 25 miles up the road but we did a 130 mile rideout to get there over the ranges, great laugh and lots of black ice!


Saturday, 10 December 2011

Final assembly!


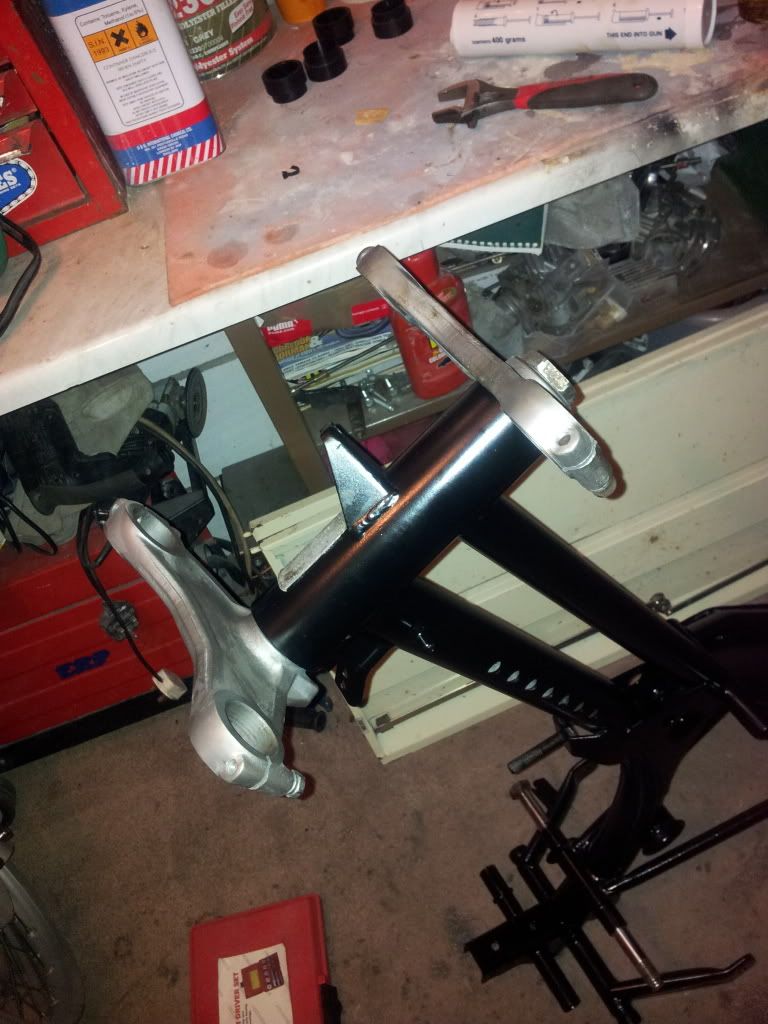
Final assembly after painting has finally started! The frame is completely done just needs bits hanging off it now, just spent tonight putting new head bearings in, servicing the rear shocks and fitting uprated springs and fitted the swingarm, all bits fully serviced as I go along, the tickoff list is getting shorter and shorter very rapidly  :D  Now knackered half pissed and high on thinners used for cleaning bits, so all good


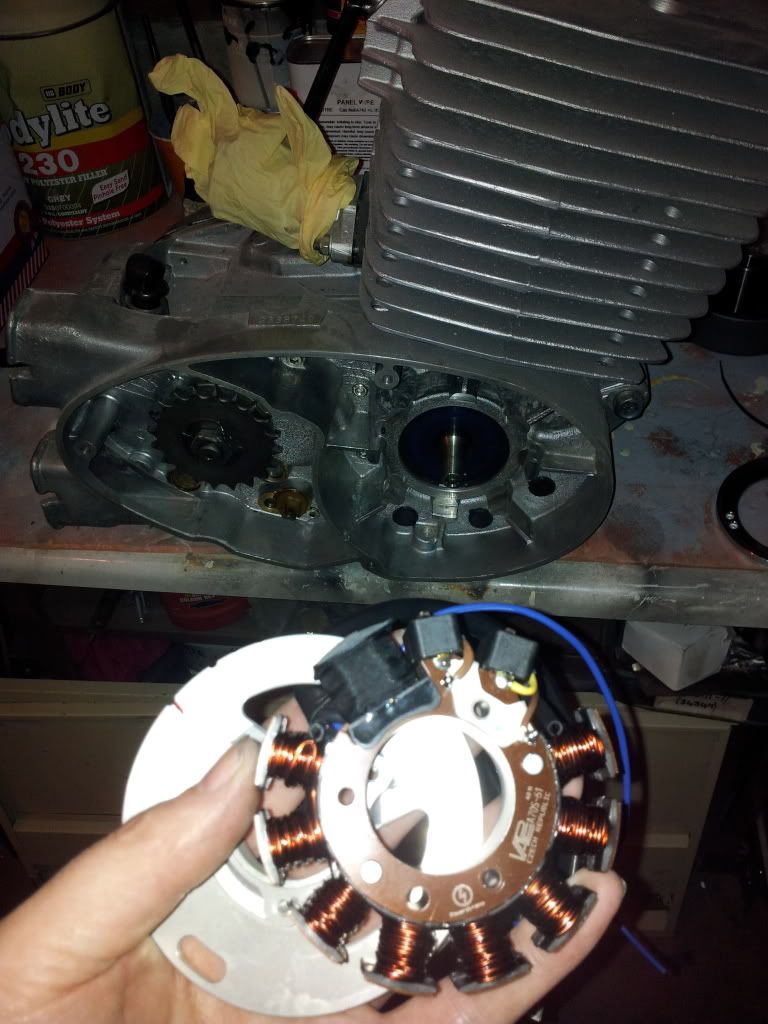
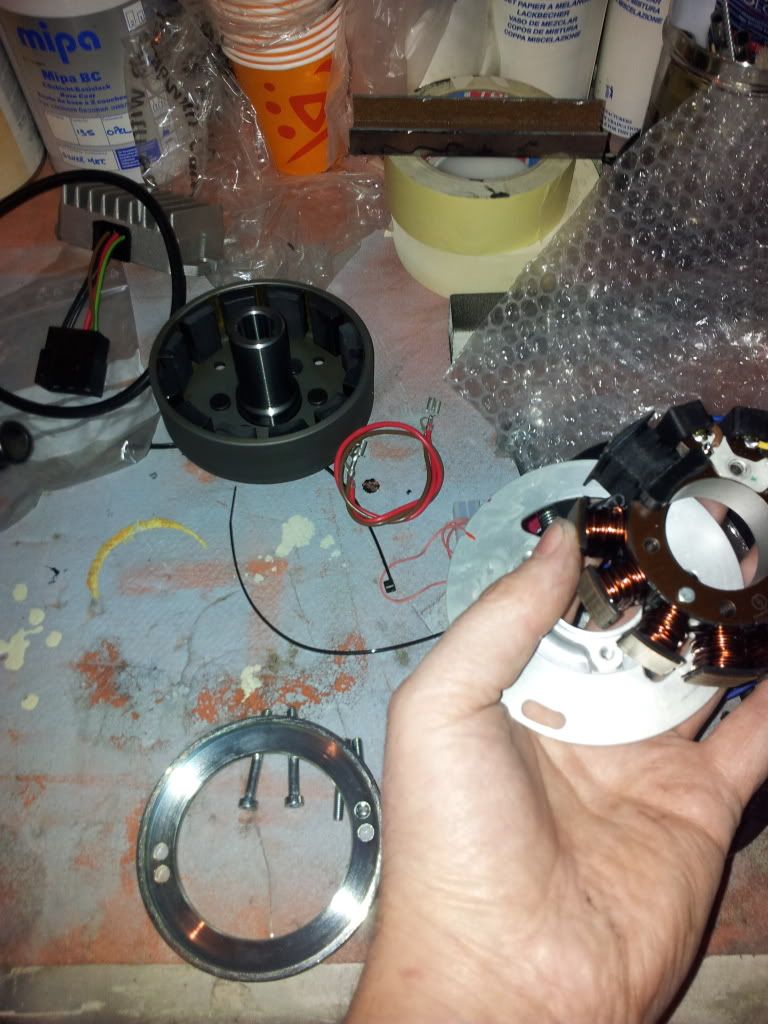
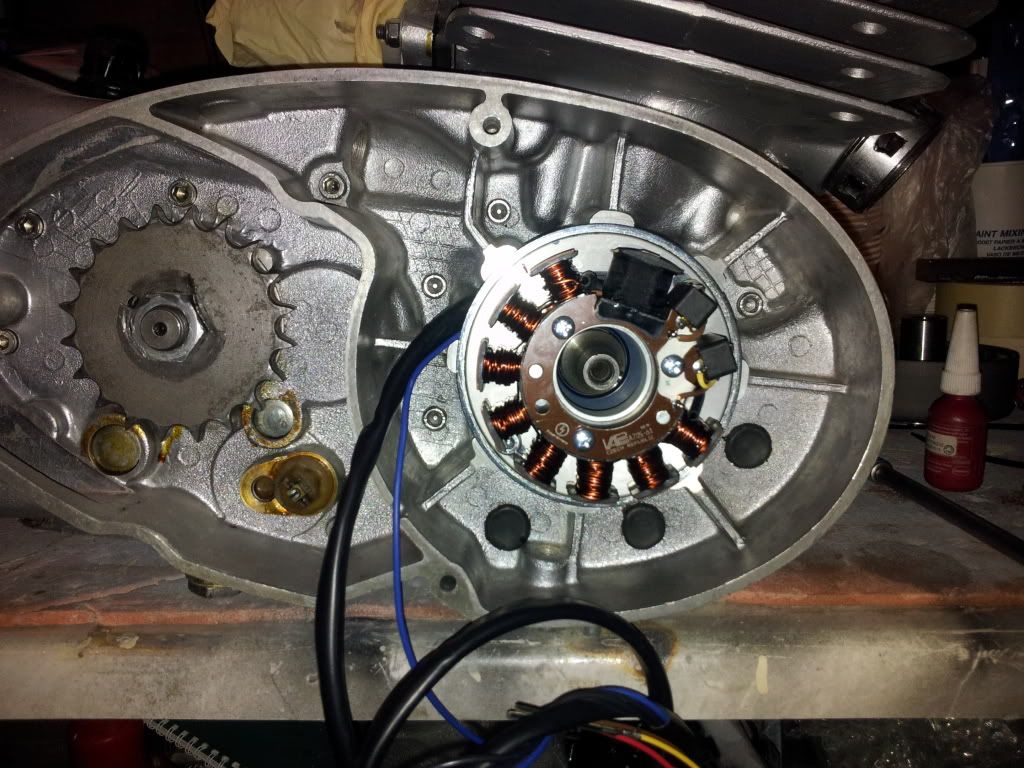
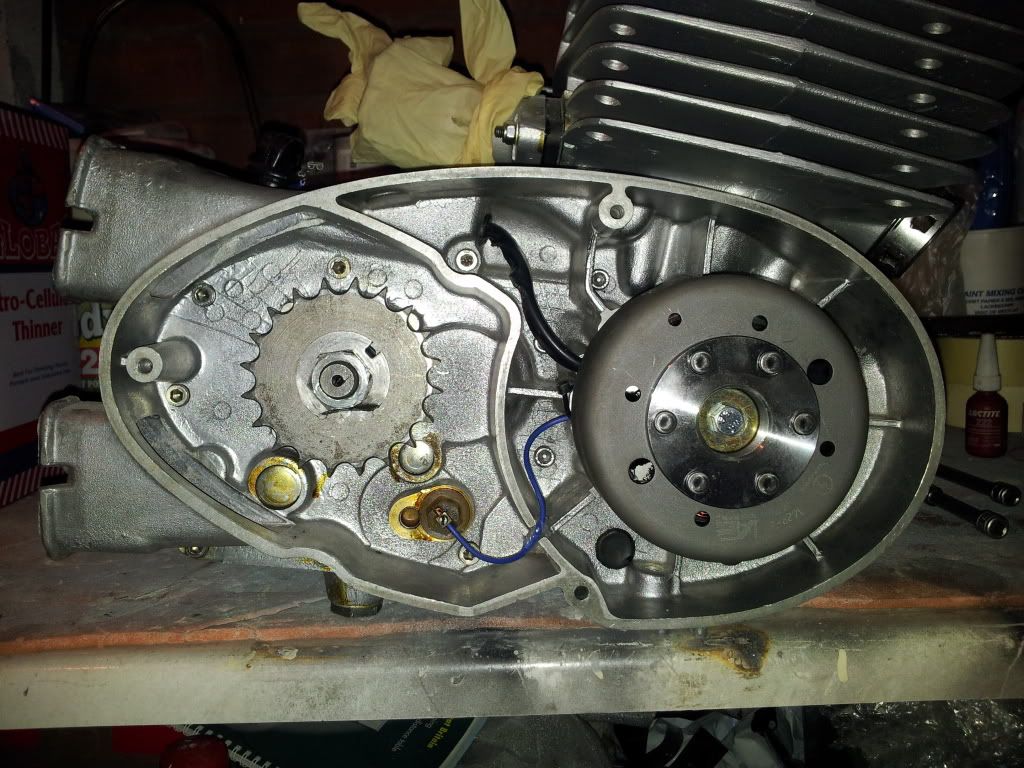
12v conversion Powerdyno


Also splashed out massively, well not really I finished paying CSA after 13 years and I managed to overpay by a month and a half, so in effect my ex missus has payed for a 6 to 12v/electronic ignition conversion from power dyno in germany, I only had to put £1.50 to it so it makes the deal sweet as f*** haha if only she knew, fitted it yesterday very high quality bit of kit, but not cheap as far as MZ bits are concerned, it cost more than the bike and engine rebuild alone  :o but is the icing on the cake. it benefits from being self energizing so Im putting a tiny 2.9 amp/hour battery under the seat, but could go battery-less if I got stuck with blown fuses in the middle of no where


Monday, 28 November 2011

Frame and swingarm done

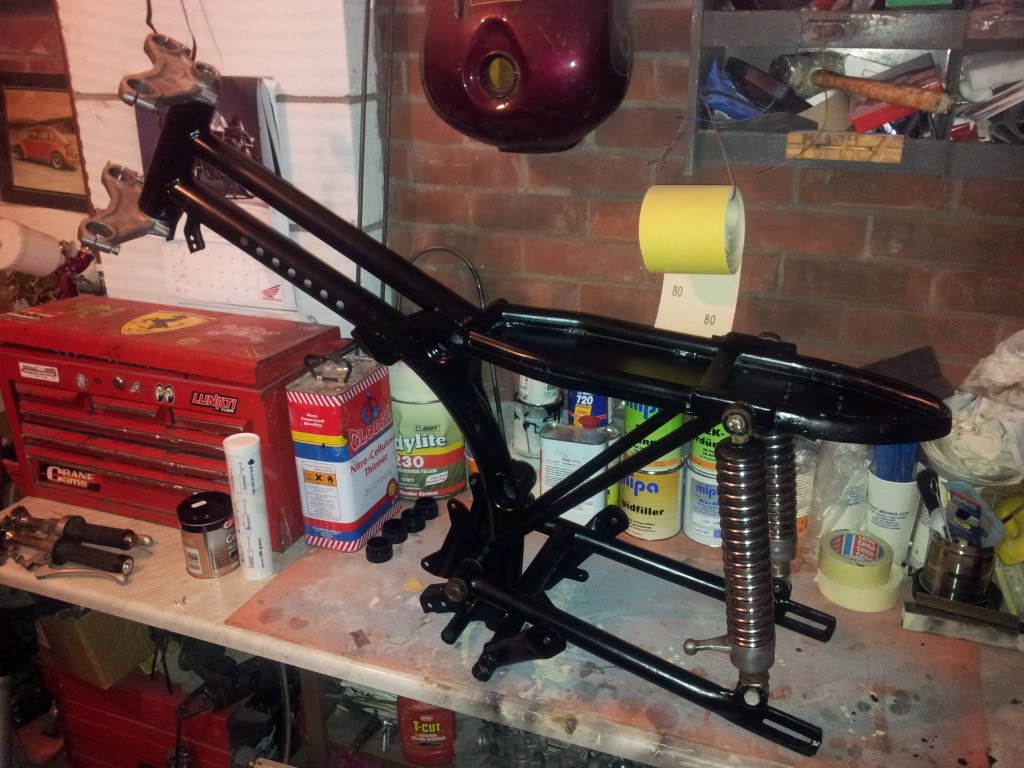
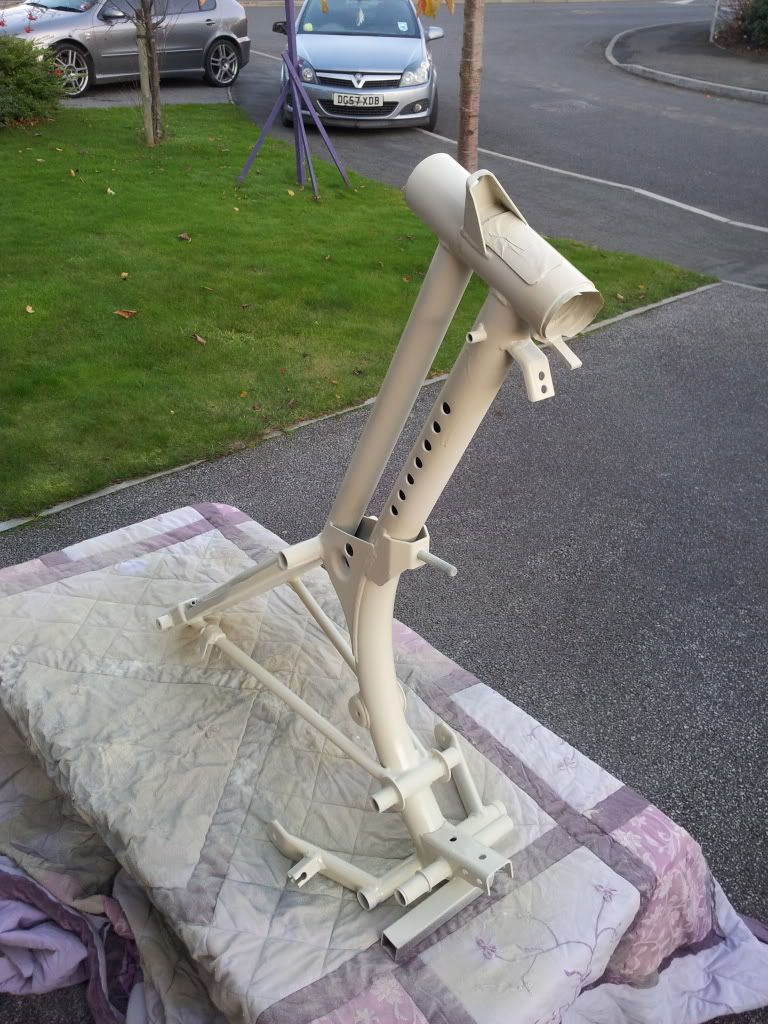
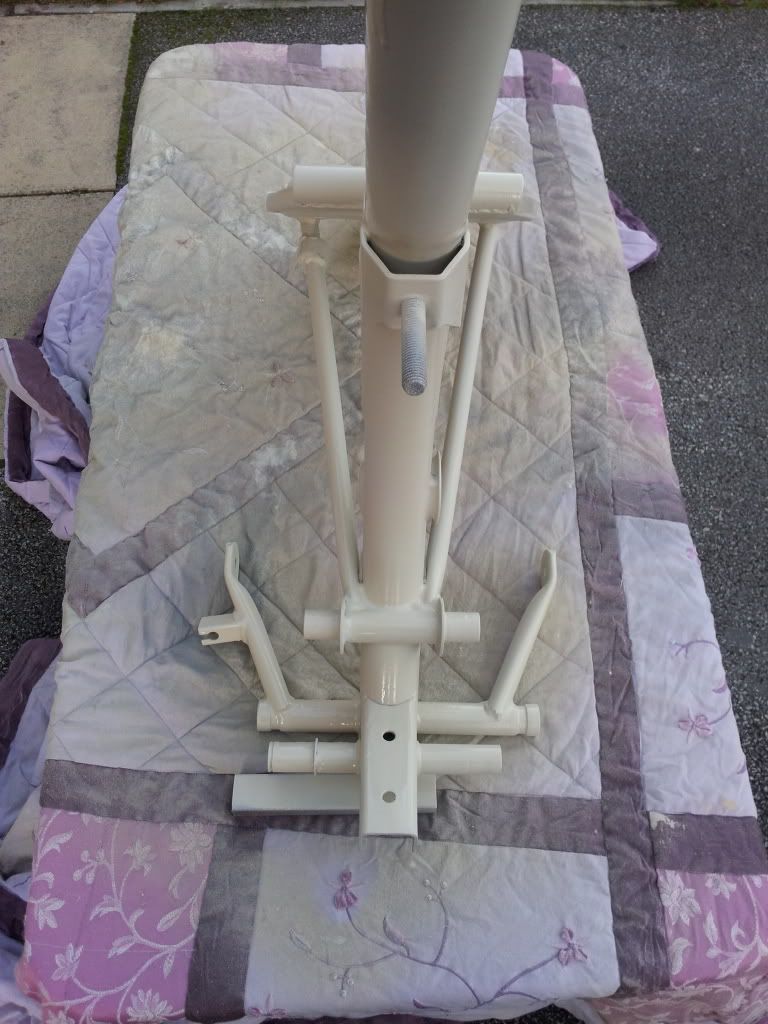
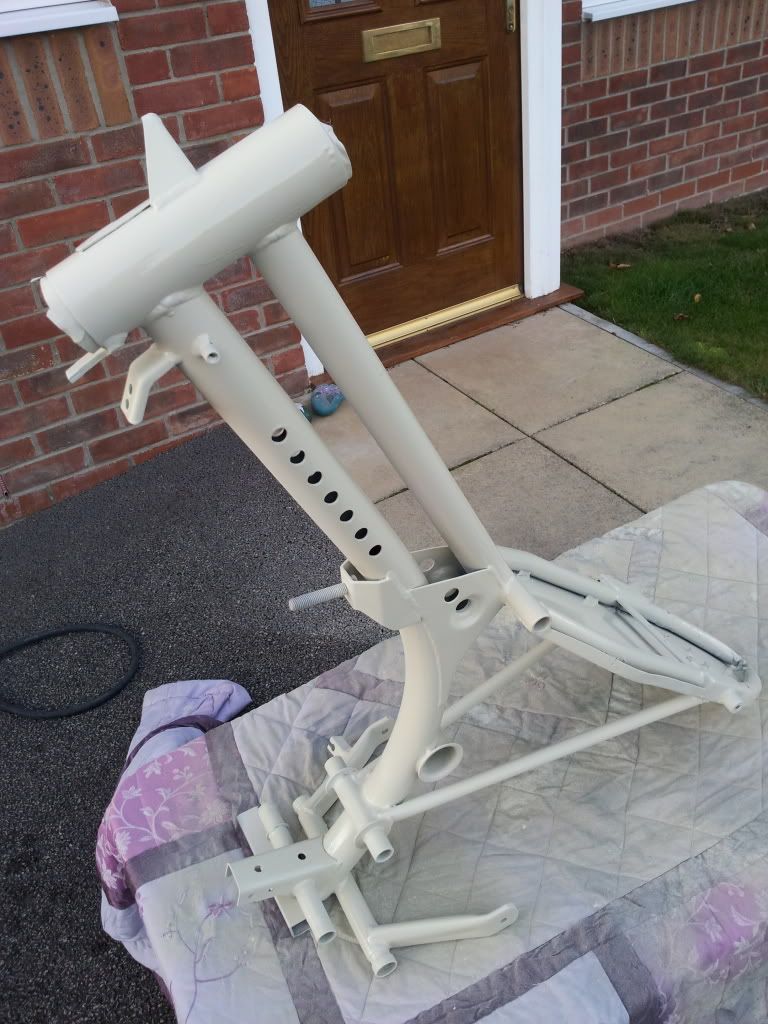
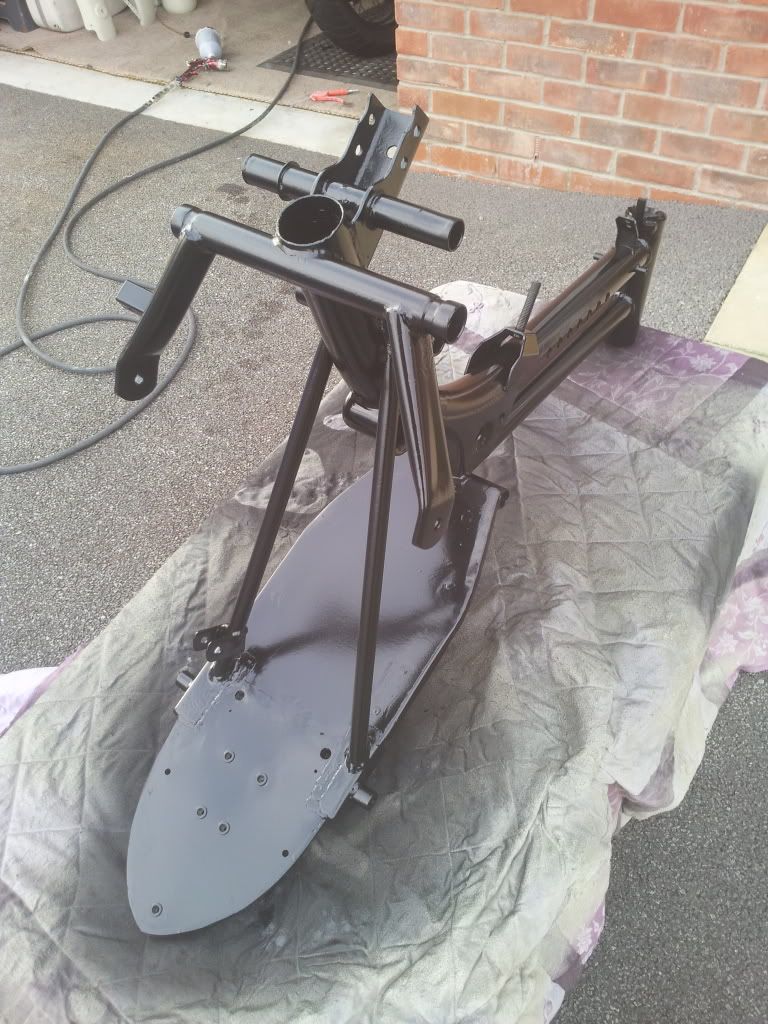
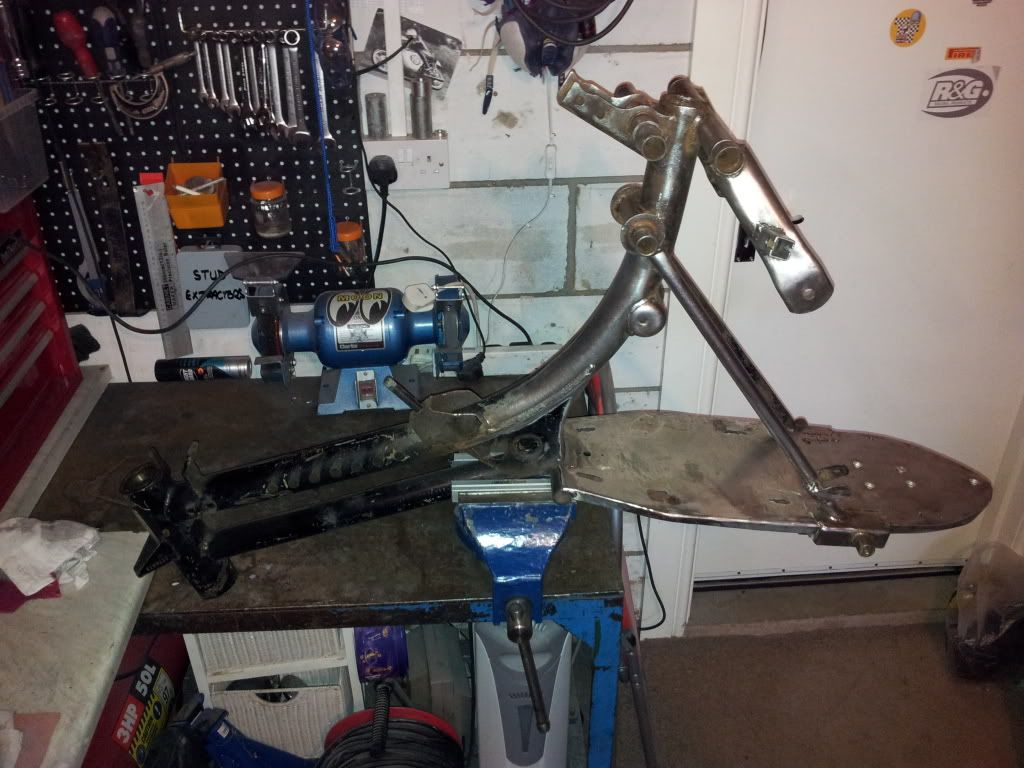
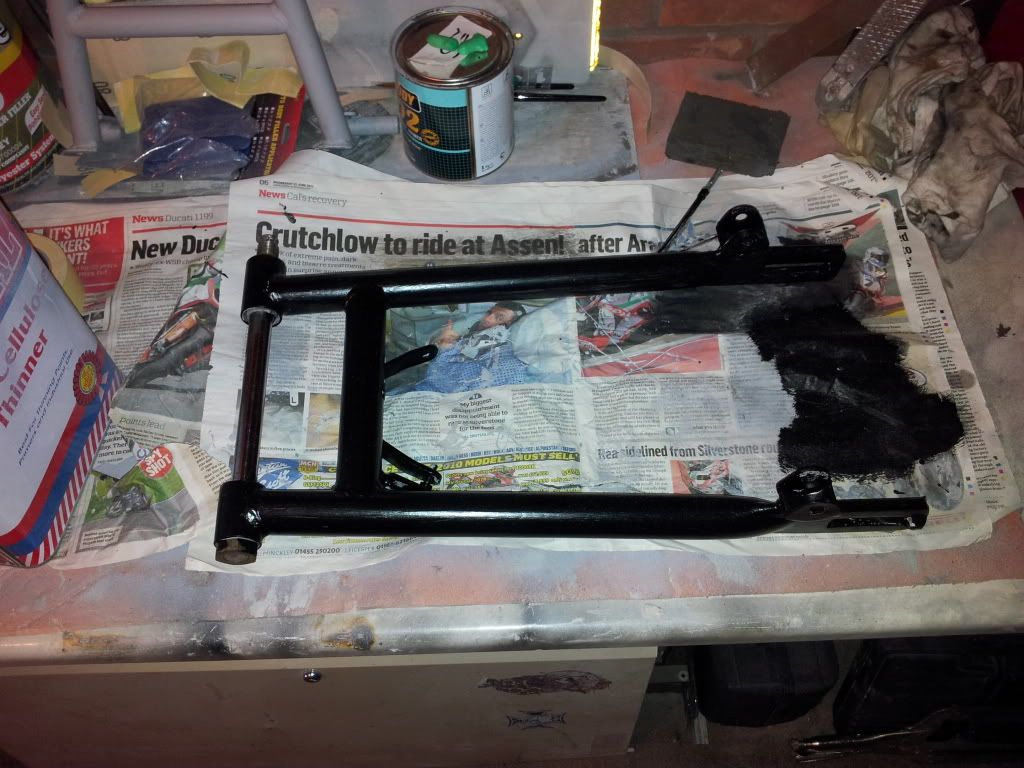
Big progress this weekend, I finished stripping the frame, then decided to give it a coat of rust remover, would have been all good and well but the rust remover dried to a powdery surface that lifted as soon as you touched it, done use loctite rust treatment if you plan on just painting it on then overpainting. After a couple of hours I managed to scotchbrite it all off leaving a good surface to filler prime, this went on really well and with no reacting where I couldnt get to the rust treatment with the scotchbrite. This morning I rubbed all the frame with 400 wet and dry then prepped it for a coat of black enamel. I was dreading spraying this as Ive always brush painted it bofore and it runs just looking at it, so I turned the pressure down on the compressor and adjusted the tip to just give out a waft of paint with plenty of air and it sprayed a treat, I dont think Ill ever brush paint it again Im really pleased with the results, Id already hand painted the swingarm, side engine plates and main stand but wasnt happy with the brush strokes in it, so out came the trusty scotchbrite, gave them all a key and rubbing down the brushstrokes at the same time and these came up a treat as well. Very chuffed. To thin the enamel for spraying, just keep adding nitro celly thinners to it till it get to a watery consistency and stir well, dont leave it in the gun too long, if you have to make sure you stir the paint again or all the heavy enamel sinks to the bottom, and will spit out blobs of paint when you start spraying again. Major progress, its drying nicely now and then I can start on final build!



Tuesday, 22 November 2011

Tank Painted

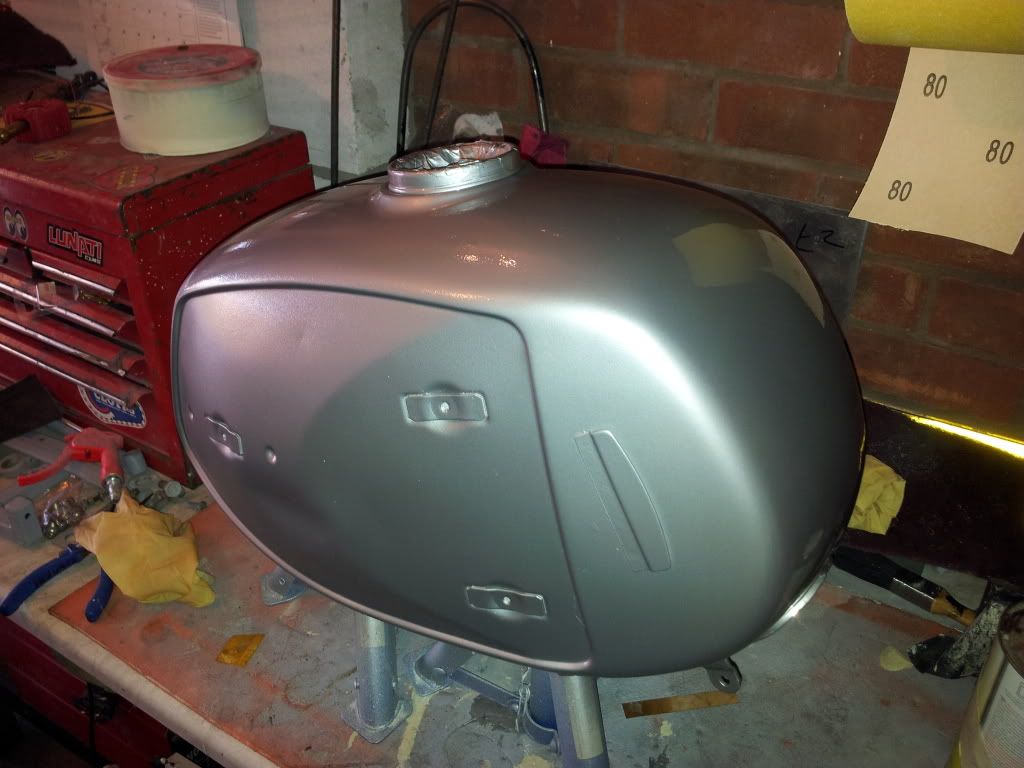
Slow progress at the mo, sellin our house so been running around sorting that out, got paint on the tank, bit af colour sanding and polishing should come up perfect, no runs!
Base Coat


And with laquer


Saturday, 12 November 2011

Still painting!

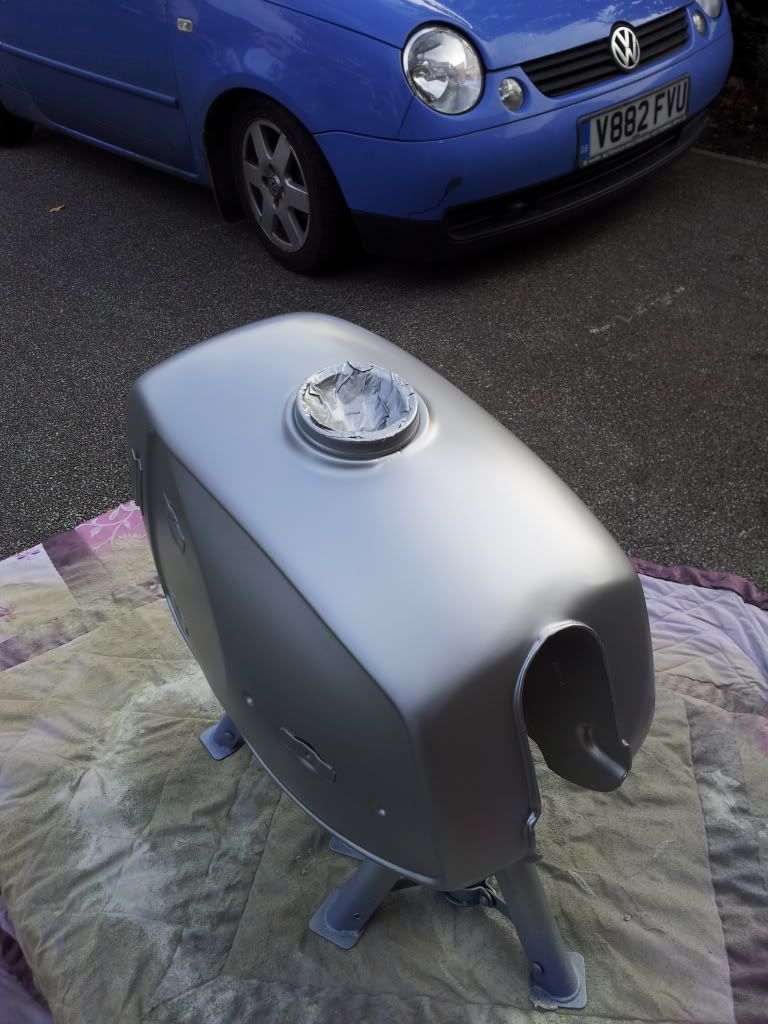
Still filler priming, tank is finally ready for top coat, its smooth as a babies bum at last, mz must have used loads of filler primer from the factory cause after sandblasting the stamp marks were really prominent and it took ages to blast, so after what seems like ages its finally ready to paint, bought the paint today its opal silver which is the closest you'll get to Norton silver, not too bigger flake in the metallic and close to the mz factory racing paint


Friday, 11 November 2011

Front wheel

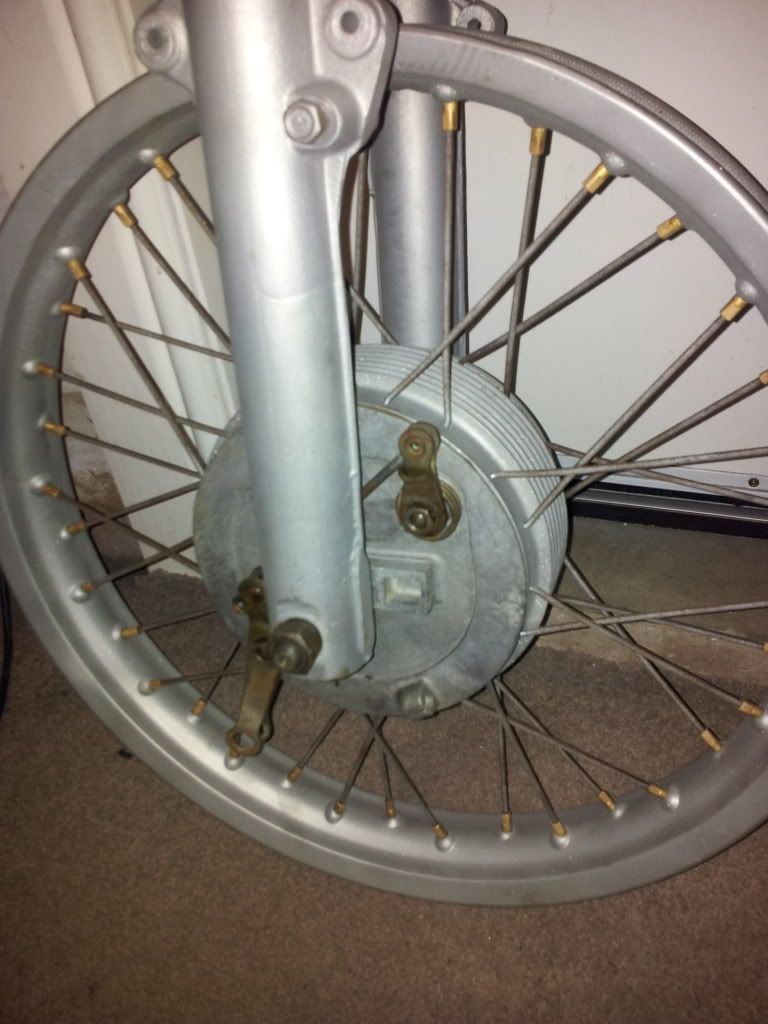
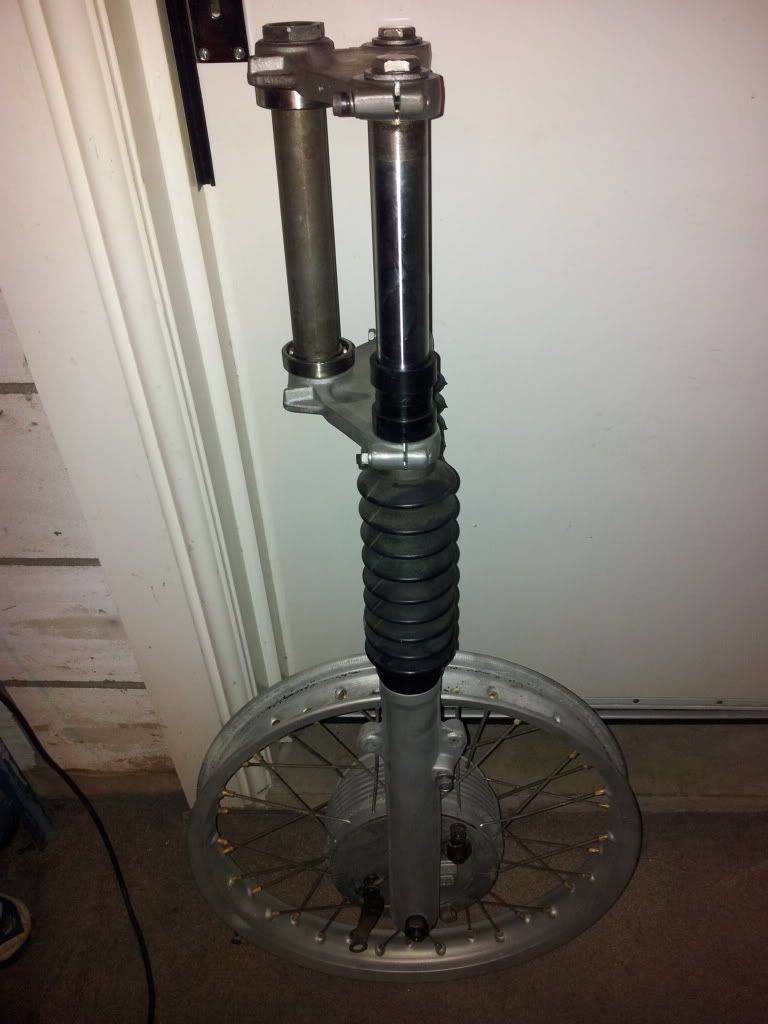
The front brake on aa supa 5 is a weedy affair, the brake arm is enclosed inside the drum so this is unnecessarily short, I was going to machine the standard drum to allow a longer arm on the outside instead of inside, but I managed to bag another stafford classic bike show bargain. Its a Jawa 350 twin leading shoe front wheel and picked it up for a bargain £20 inc drum brake, sorted. Its such a good match that it even used the same front wheel bearings as the MZ and the ally rim looks near enough identical to the rear rim, result! The only thing is that it is about 10mm narrower that the MZ overall bearing surface, but at least its not too wide wich would have been a headache. So I mounted the wheel up in the forks,centralised it and measured for spacers. On the torque arm side of the drum it normally locates in a square in the fork leg, which the MZ one dosent have, so I need to get some 30mm x 3mm box section and make a torque arm mount, but this will double up as the spacer for the other side and should look pretty neat, so left spacer is done now its 5.15mm for the record leaving 4.65mm for the torque as side as its thicker. Looks great just the torque arm mount and arm to make and machine the top yolk down and thats the front end sorted.

 Left side centered and measured up

Right side temporary spacer washer put in and drum in place
to fabricate torque arm


Monday, 7 November 2011

Still going!

Second coat of filler primer now on waiting for it to harden, off to the paintshop to buy the colour and Ill update some pics when its painted. Also stripping the frame with a wire cup brush, then going to brush paint it with some satin black enamel over 1K brushable primer. Swingarm and main stand done.


Sunday, 30 October 2011

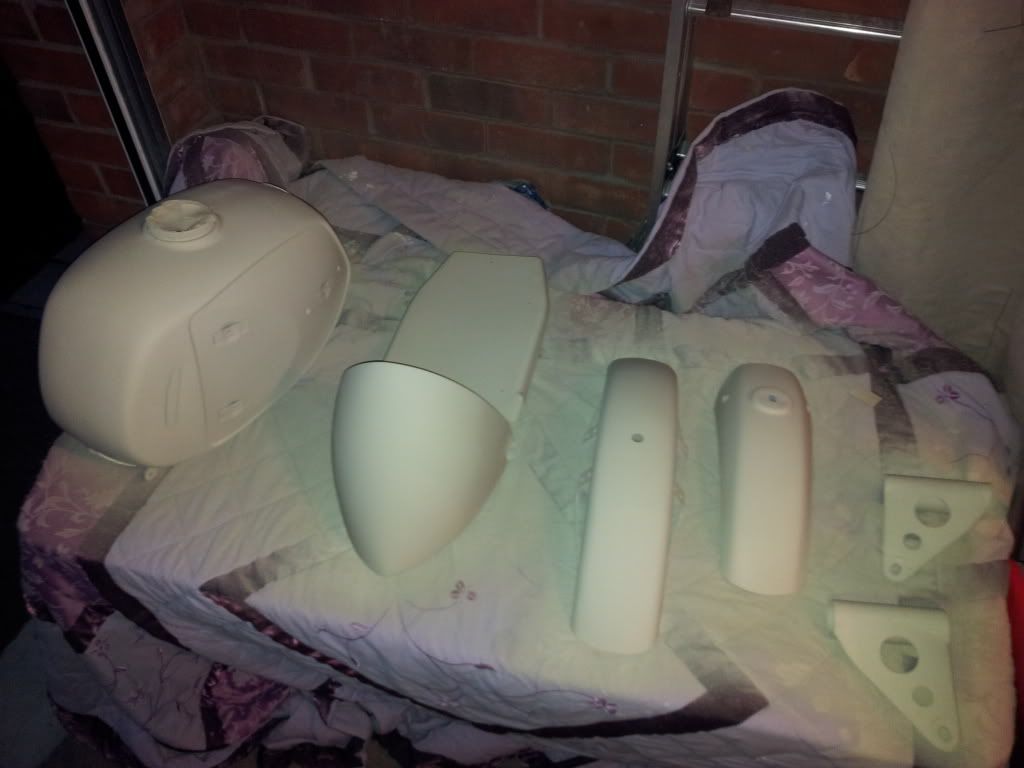
Filler primer

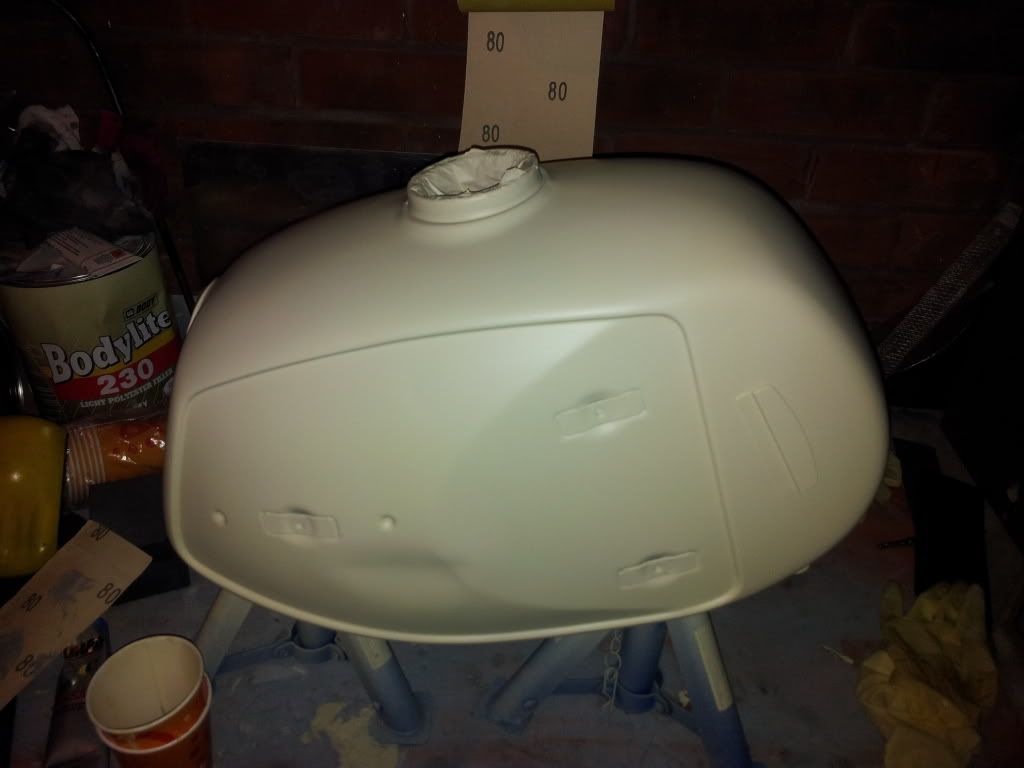
First coat of paint finally on, wasn't planning to do any spraying today but seen as it was warm and sunny thought id take the opportunity, good to see the tinware all in one colour, major milestone achieved, but realised after i forgot the light cowl good excuse to lay some more 2k filler primer on the filled bits